
[WARNING] This blog post is created when Microsoft Windows still came in a physical box with multiple installation disks.
A Computer Emergency Response Team (CERT) is a group of information security experts responsible for responding to an organization’s cybersecurity incident. When an event occurs within Office 365, many products can help identify and mitigate the threat, including Microsoft Office 365 Advanced Threat Protection (ATP). Microsoft Office 365 ATP is part of Office 365 E5, Microsoft 365 E5, or Microsoft Security E5. Other tools within the Microsoft 365 E5 suite can help you identifying and mitigating an incident, but what if you do not have an E5 license? In this blog post, I will go more in-depth about what to do if you do not have Microsoft Office 365 ATP with just the portal on a single identity.
Litigation Hold
The first thing I would recommend to do during an incident within Office 365 is to check if a mailbox needs a Litigation Hold. Litigation Hold can preserve all mailbox content, including deleted items and original versions of modified items. The second thing I would recommend is to check what license plans are available within the tenant. Looking at the license plans helps identify which tools are available within the tenant. The last thing I would recommend is to be in control as quickly as possible. If you identified a compromised user, initiate a password reset as soon as possible to prevent lateral movement. Do not forget to sign-out this all Office 365 sessions.
Initiate Sign-out
To initiate a sign-out from all Office 365 sessions, go to Users > Active users from within the Office 365 portal, click on the user account to open the user’s properties page, and click initiate sign-out.
Unfortunately, this does not mean you are in control of the situation. One of my biggest concerns is: What did the attacker find in the mailbox? Did the attacker recover a password that the attacker can use to login to another inbox and get undetected? Did the attacker recover a password for a third-party application outside the tenant, but which can have a business impact?
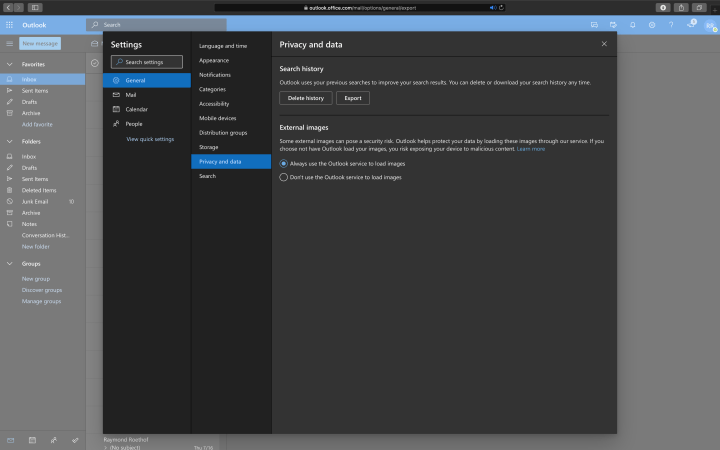
Search History
If there is any indication that an attacker was logged-in to a mailbox, you can search for malicious activities. There is an option to export all search history, which can help identify what the attacker was looking for in the inbox. Exporting the search history can be done by going to Settings in the top right corner within Office 365, click on View all Outlook settings, go to General, go to Privacy and data.
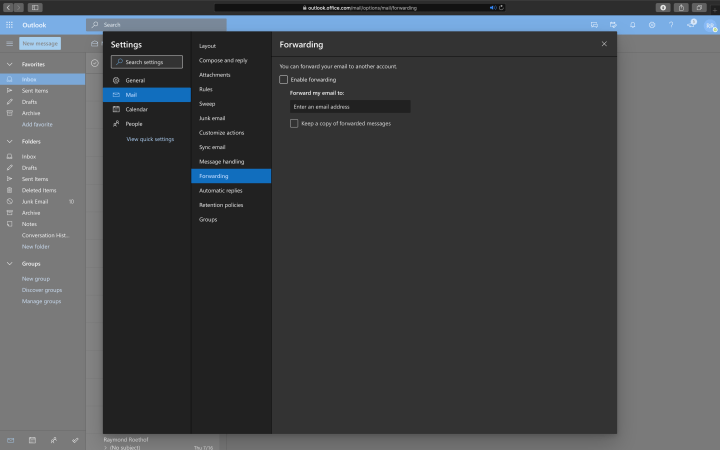
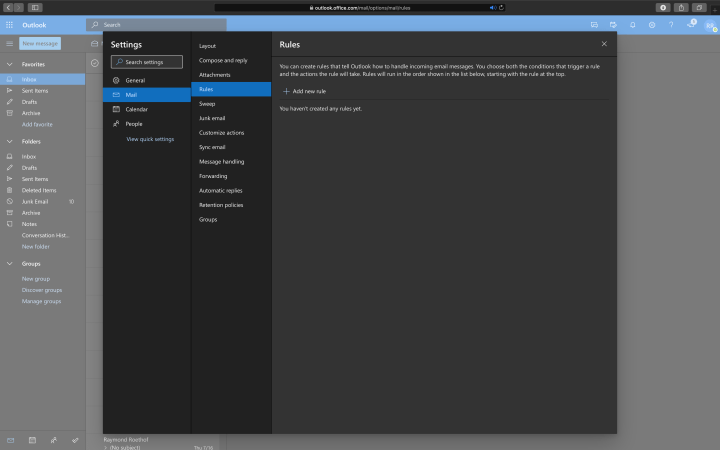
Most hackers use persistence to keep a connection to the inbox. Persistence can be as simple as mail forwarding rules, inbox rules, or a combination of the two.
Forwarding Rules
To get the forwarding rules and inbox rules, go to Settings in the top right corner within Office 365, click on View all Outlook settings, go to Mail, followed by Forwarding and Rules.
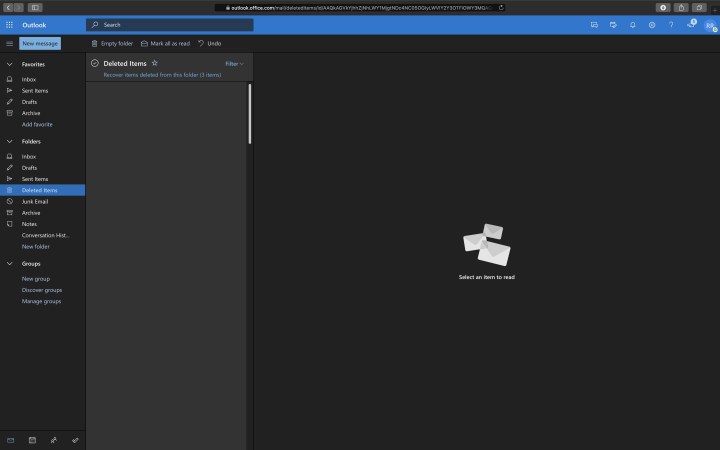
Deleted Items
Most hackers want to be undetected as long as possible. A way to be undetected is to delete all incoming e-mails using a rule and remove them from the deleted items. Luckily, the recovery of these items is possible: Open the user’s inbox, go to Deleted Items, and click Recover items deleted from this folder.
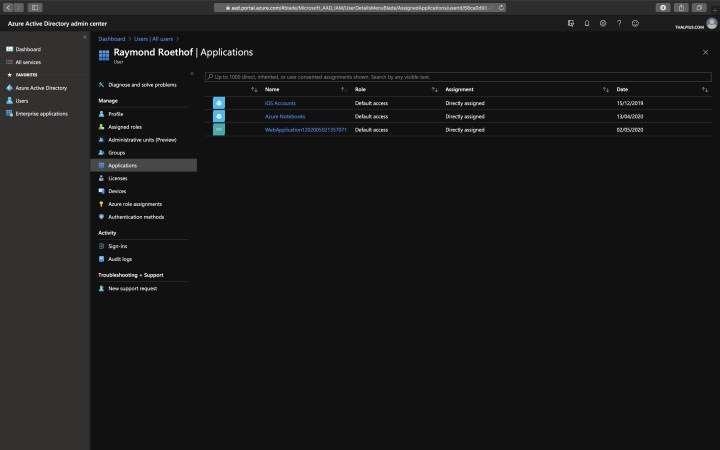
Illicit Consent
Illicit consent grant attack is an attack where a malicious user creates an Azure-registered application that requests access to data such as contact information, e-mail, or documents. The malicious user needs to trick a victim into going to a website and grant access to their account.
To check if a user granted application consent to access their data., go to Azure Active Directory, Users, Select the user, and click Applications. Be sure the list does not contain malicious applications.
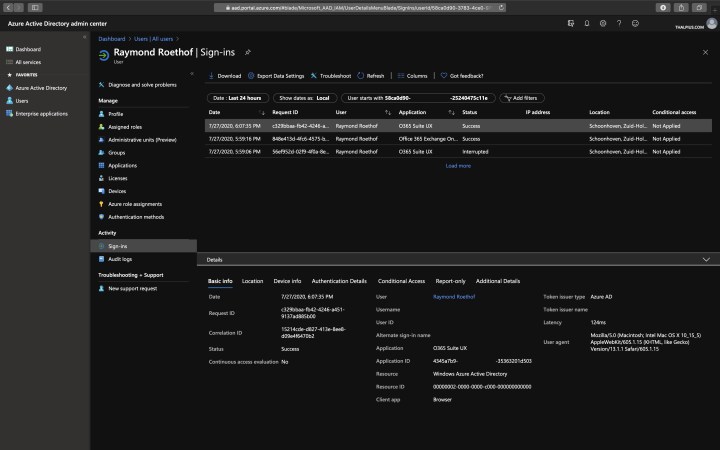
Sign-ins and Audit logs
The sign-ins and audit logs from the Azure Active Directory give you a lot of information about the identity. The Sign-ins and audit logs include the location of sign-in, IP address, client application used, user agent, device info, identity activities, etc.
To get the Sign-ins and Audit logs, go to Azure Active Directory, Users, Select the user, and click Sign-ins or Audit logs.
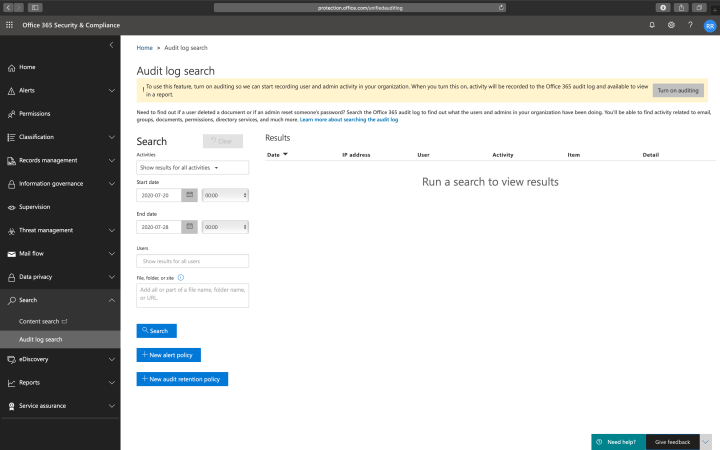
Content Search
Use the Content search and Audit log search to find all tenant activities, including file activity, folder activity, SharePoint list activity, Exchange mailbox activity, etc. You can use the content search tool to search for e-mail, documents, and instant messaging conversations based on conditions like date, sender, recipients, subject, etc.
Note: Audit log search is not turned on by default. Microsoft is changing the default option, so it is enabled by default soon. If the option is disabled, you will see a message saying Turn on auditing.
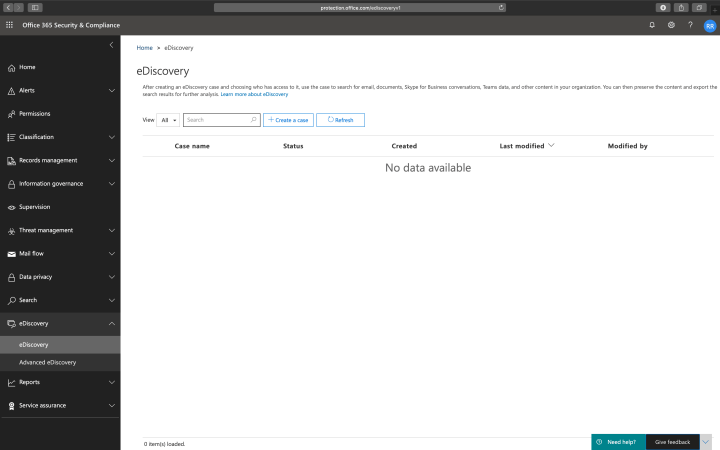
eDiscovery
With eDiscovery, you can do the same as with Content search, but now you are creating a case that you can use to handle the incident. You can add engineers to the case, set mailboxes and data on hold that are part of the case, etc. Advanced eDiscovery is the same as eDiscovery, except you get many more settings and options.
Message Trace
To track the flow of e-mail messages in your organization, you use Message Trace. If you want to know which e-mail sent to whom in what time range, Message Trace is the tool within the portal.

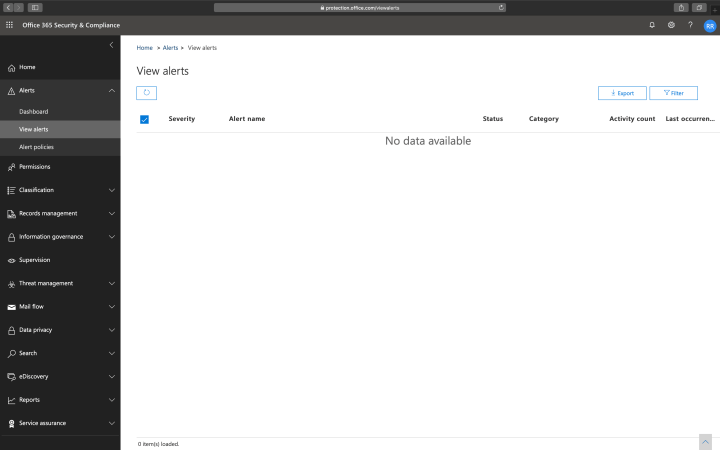
View Alerts
The last view I can recommend is the Alert View. The alert view gives a good overview of any risk level alerts available within the tenant.
Conclusion
With just the portal and no E5 licenses, it is “hard” to investigate an incident. In another blog post, I will go in-depth to do a proper analysis with tooling like PowerShell.
