A finance employee applies a Confidential label to a spreadsheet, works on it for a few days, and then shares it with an external consultant through a link in Teams. Depending on how the tenant is configured, that share attempt is either stopped in real time, or it goes through completely unnoticed until someone reviews it weeks later. Which of those two outcomes happens depends entirely on which Microsoft security tool is doing the watching, and at what point in the document’s lifecycle it gets involved.
This is exactly where Microsoft Purview and Microsoft Defender for Cloud Apps get confused as doing “the same thing” for data protection. They do not. One prevents an action before it happens. The other cleans up after data has already moved. In this post, I will walk through both sides with concrete policy examples, and explain why most mature environments end up running both rather than picking one over the other.
Table of Contents
- Two Different Moments of Control
- Microsoft Purview DLP: Blocking Data After Classification
- Microsoft Defender for Cloud Apps: Revoking Access on Already-Shared Files
- Why You Need Both
- Conclusion
Disclaimer: This blog post is provided for informational purposes only. While every effort has been made to ensure accuracy, implementation of these features should be performed by qualified administrators in accordance with your organization’s security and change management policies. The author is not responsible for any issues, data loss, or security incidents that may occur from following this guidance. Always test in a non-production environment first and consult official Microsoft documentation before implementing security features in production.
Two Different Moments of Control
A question I get regularly: “We have Microsoft Purview, so why do we also need Defender for Cloud Apps for data protection?” The short answer is that they intervene at two different moments in a document’s lifecycle. Purview prevents sensitive data from going down the wrong path in the first place. Defender for Cloud Apps cleans up what has already been shared. Neither one replaces the other; they cover different gaps.
Microsoft Purview DLP: Blocking Data After Classification
Microsoft Purview Data Loss Prevention (DLP) intervenes at the moment a user tries to do something with a document: sending it by email, uploading it to a cloud app, pasting it into a browser, or sharing it outside the organization.
That intervention depends entirely on classification. Before a DLP rule can block anything, Purview first needs to know that a document is sensitive. This is done through:
- Sensitive information types (SITs): pattern-based detection such as credit card numbers, national identification numbers, or customer IDs
- Sensitivity labels: applied manually by users or automatically based on content, for example Confidential or Internal
- Trainable classifiers: machine-learning-based recognition of content types such as contracts or financial statements
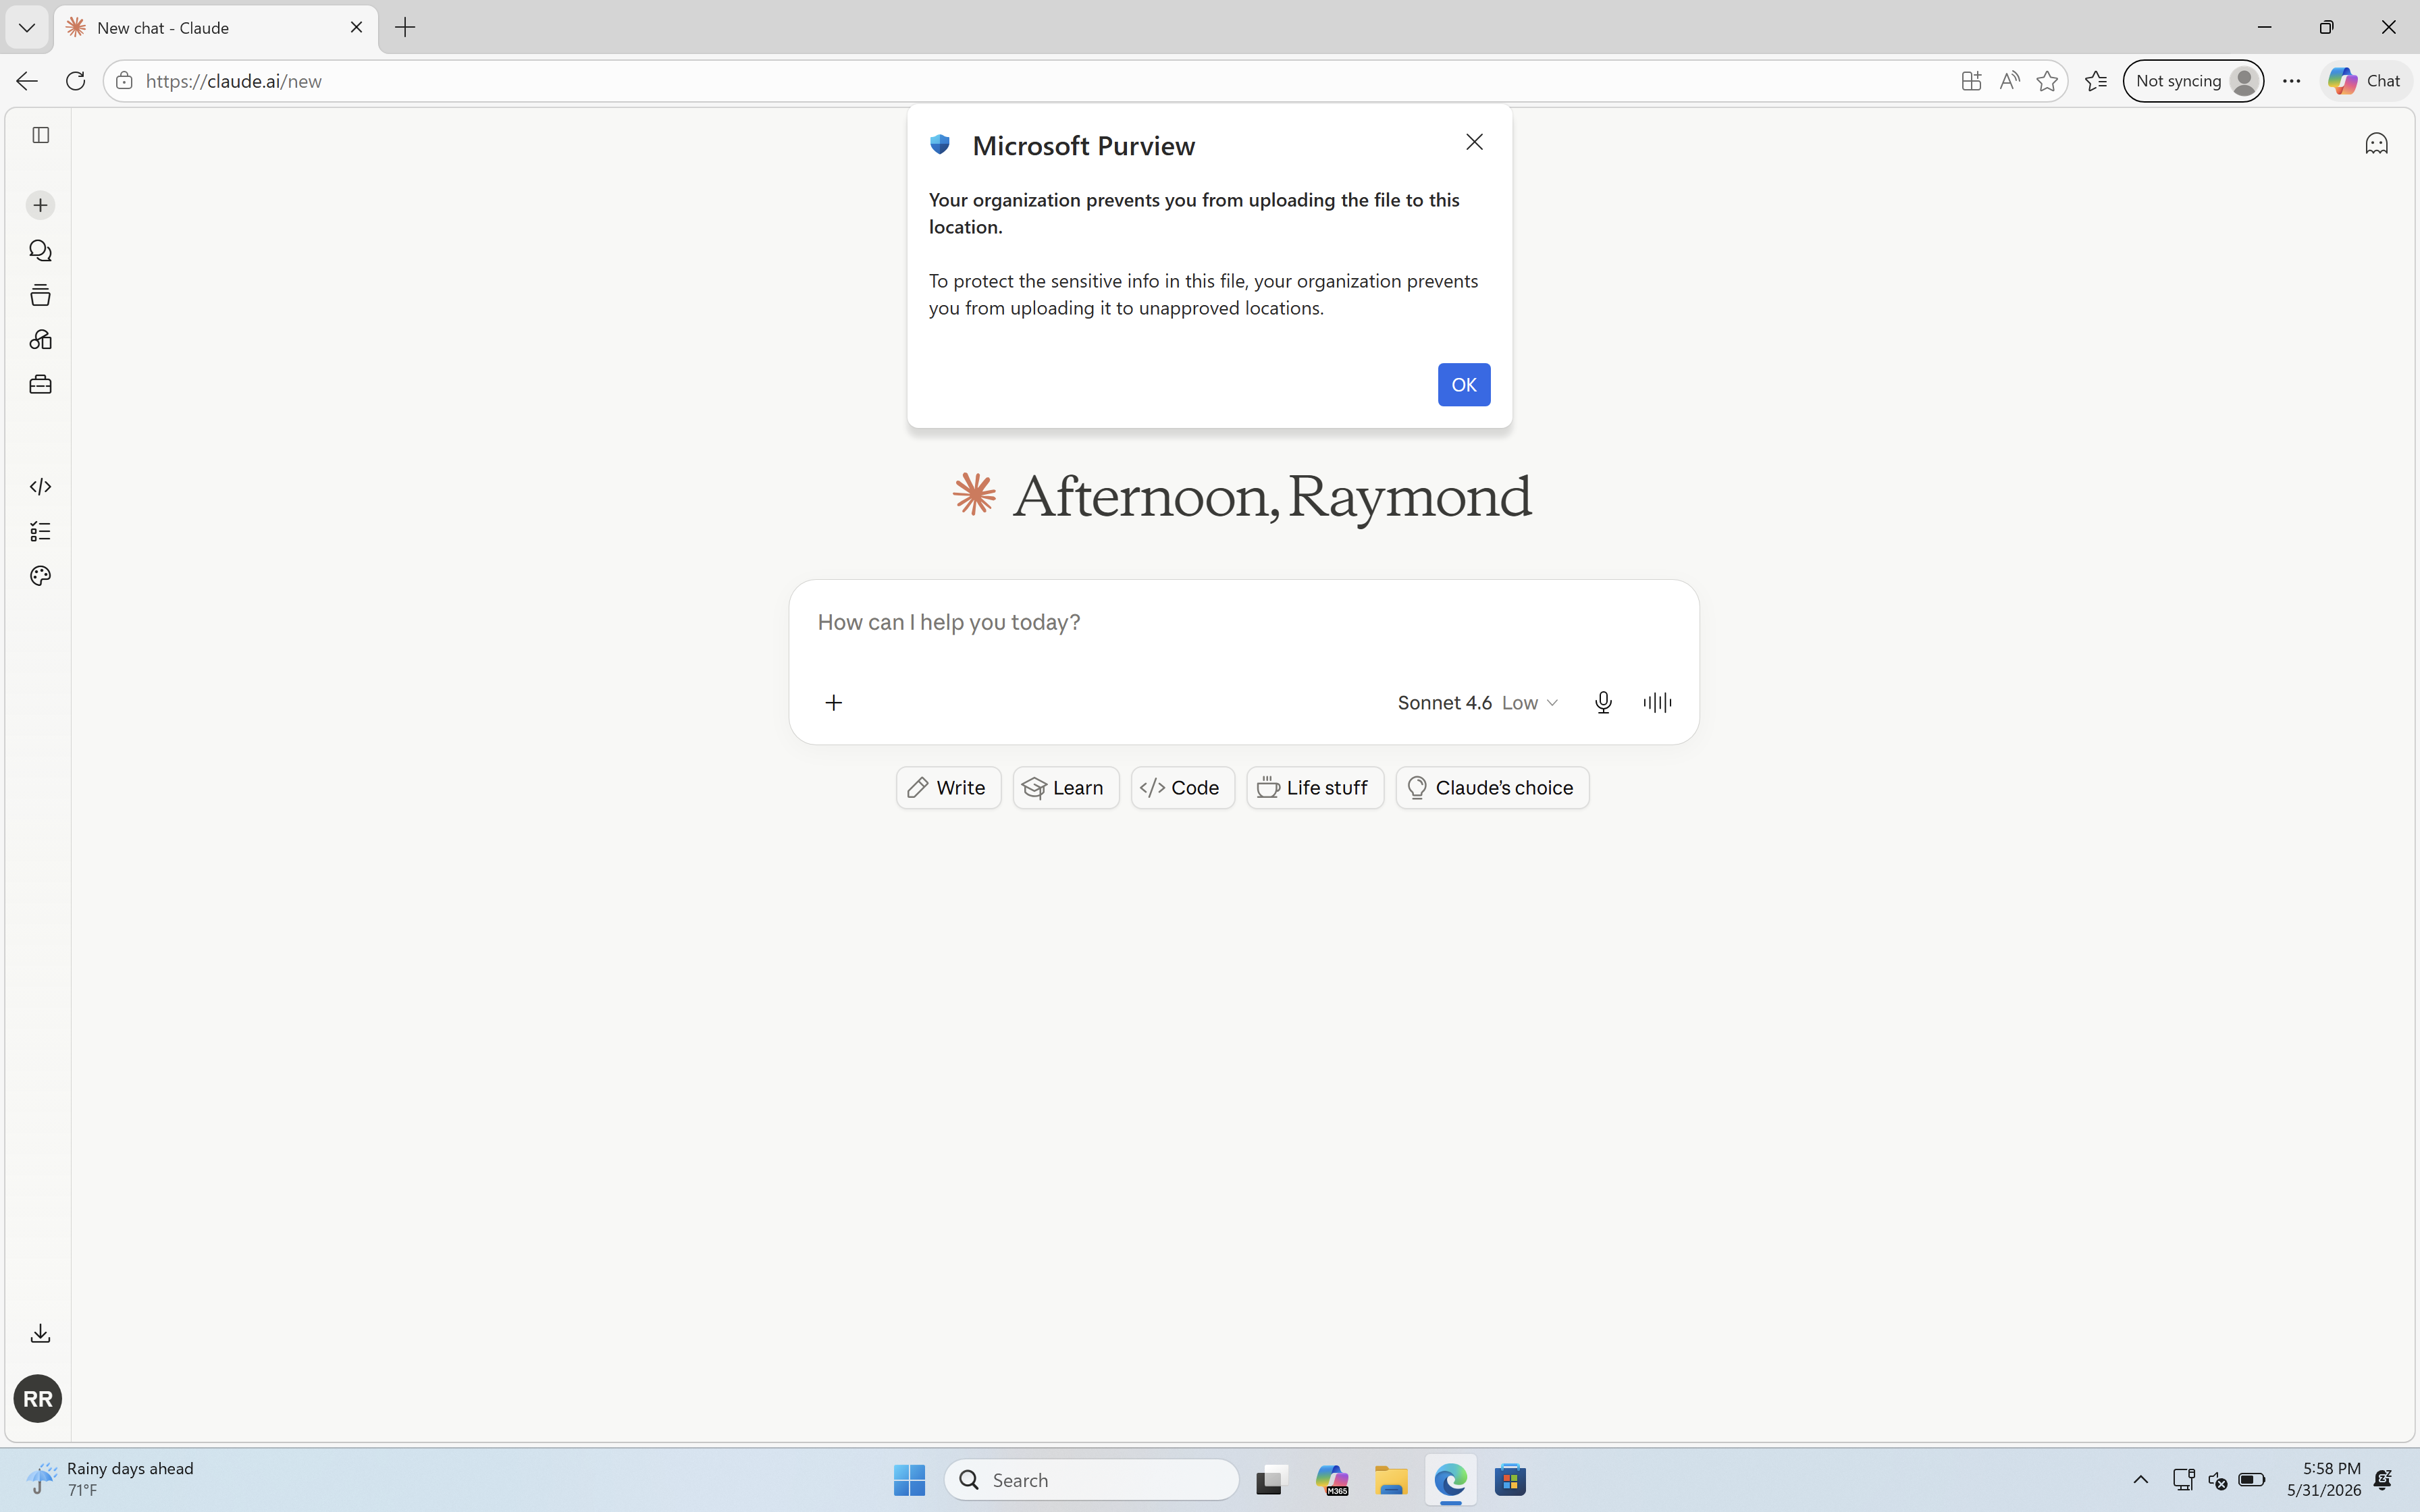
Once content is classified as sensitive, a DLP policy can act on it. A common example: a user tries to share a document labeled Confidential with someone outside the organization. The DLP policy recognizes the label and the action is immediate: block, optionally with a business justification override, or block without that option. Every attempt is logged in Activity Explorer, so you can see exactly who tried what and whether the policy intervened.
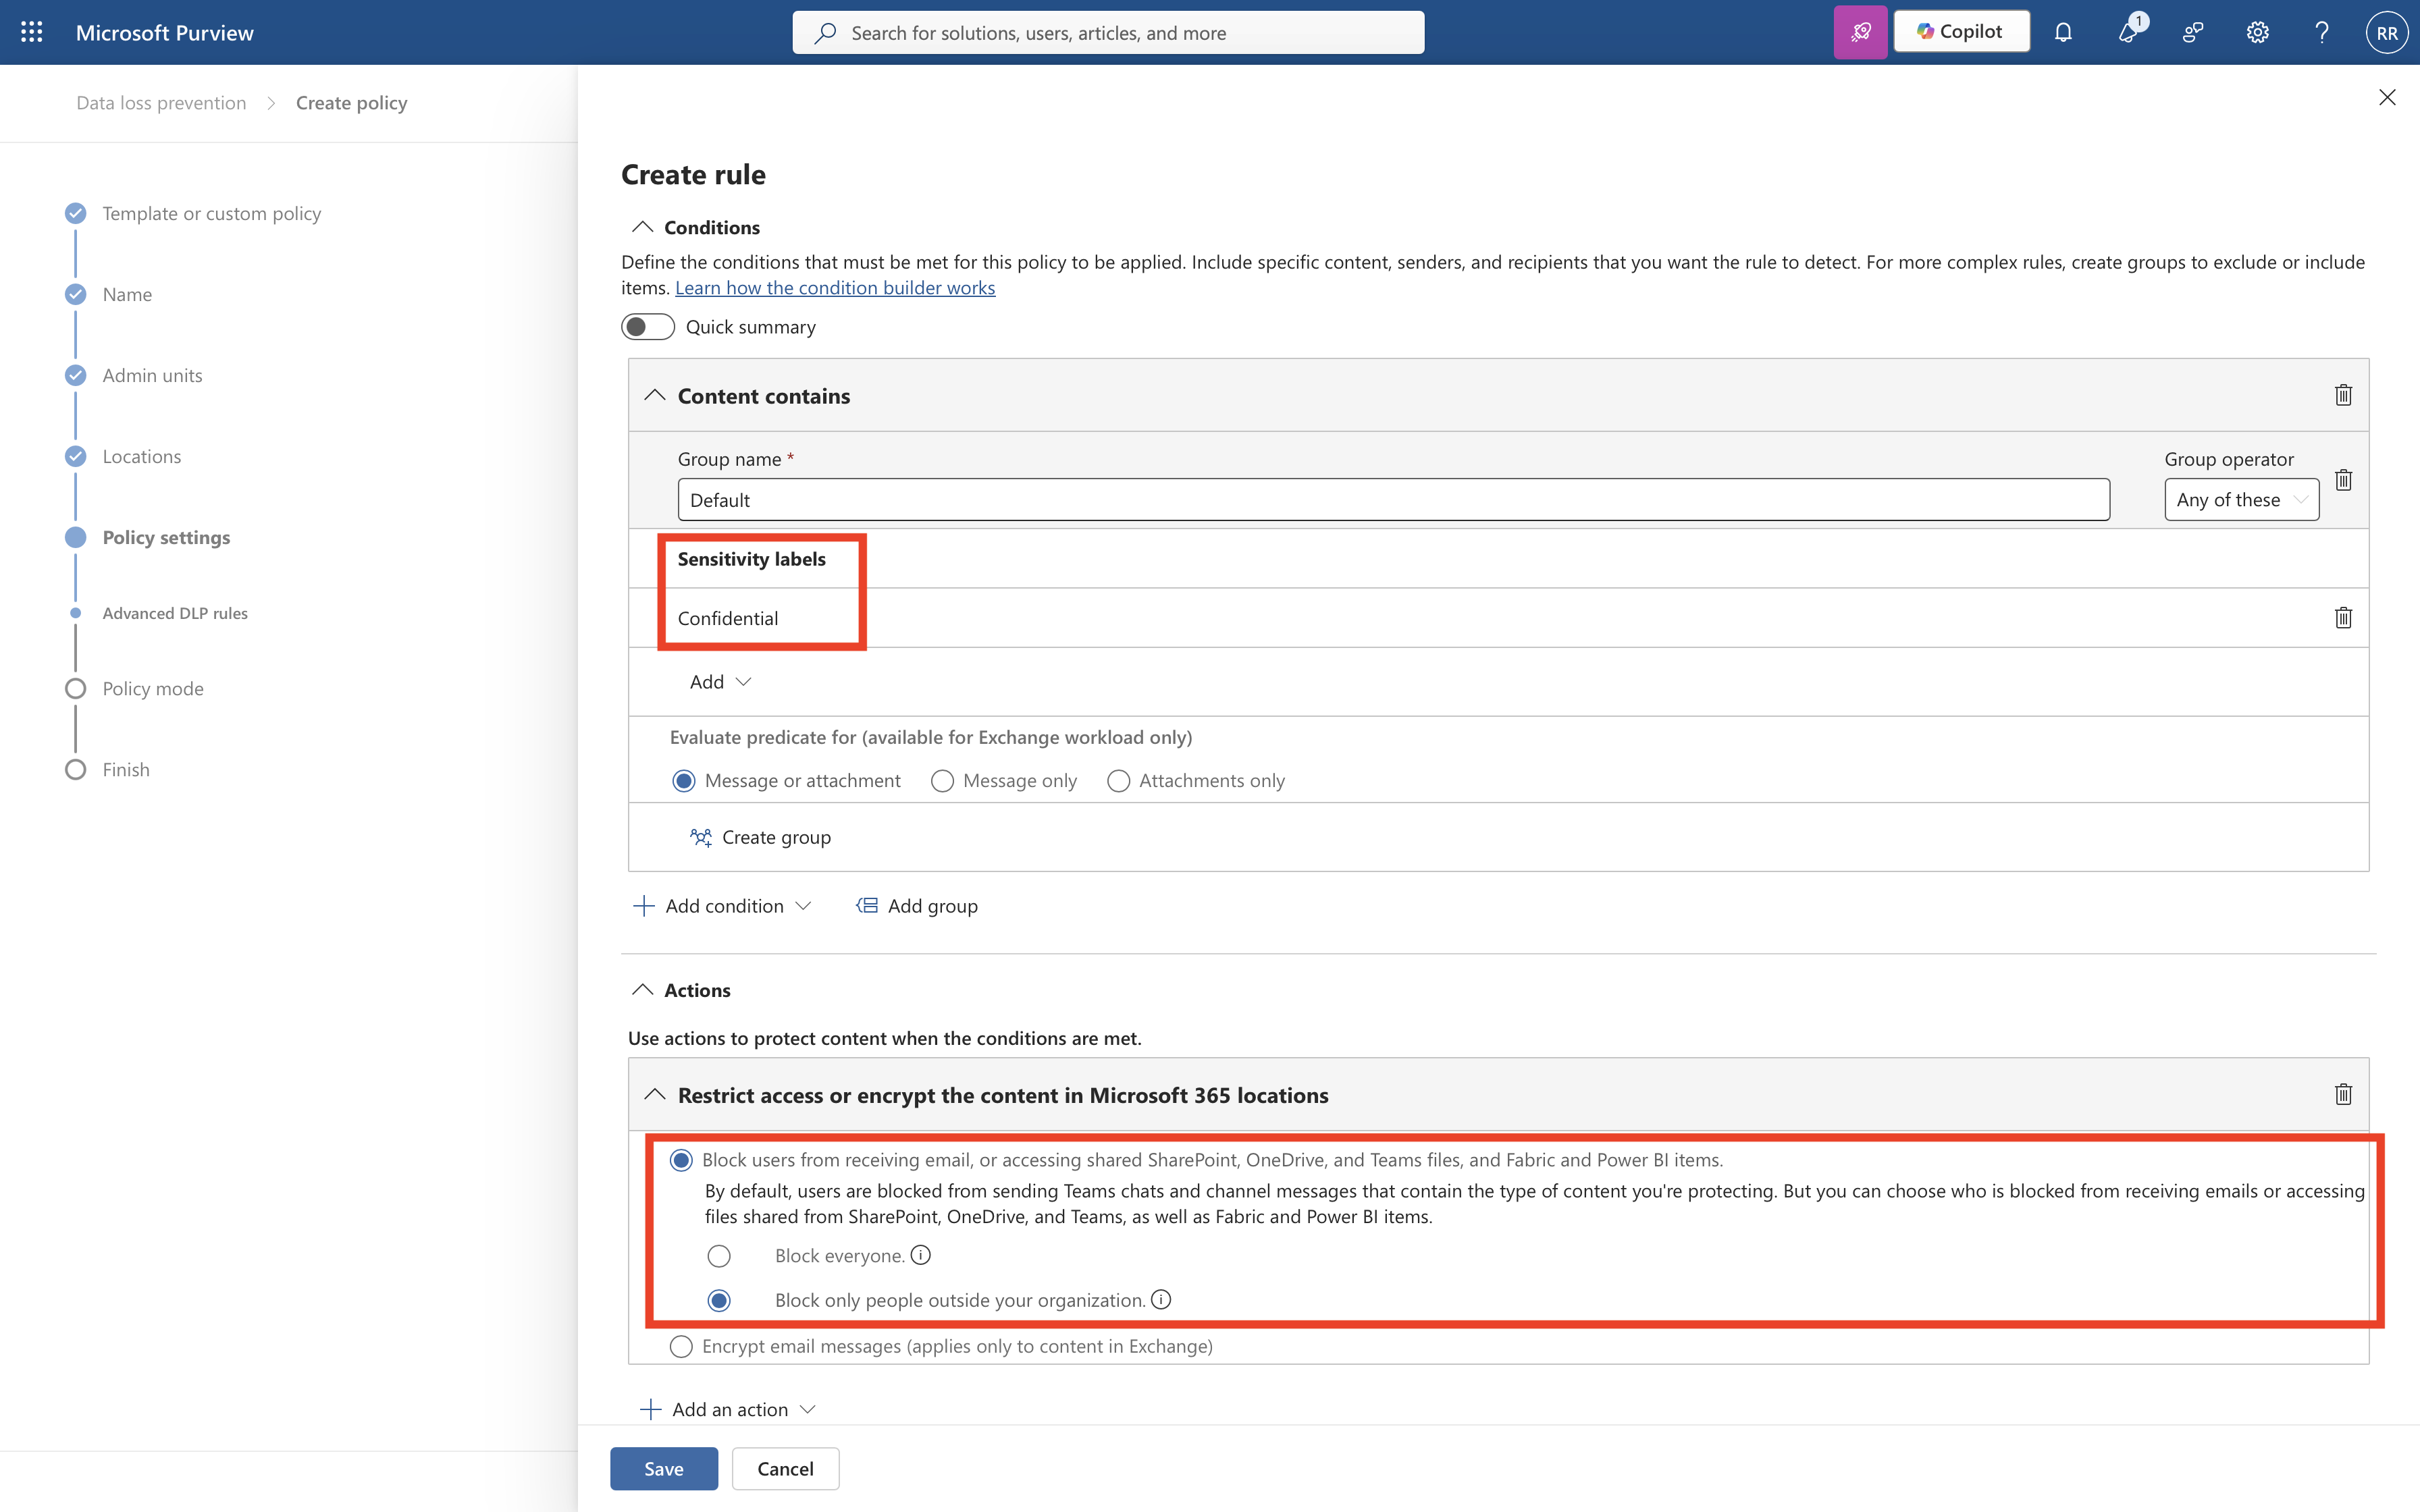
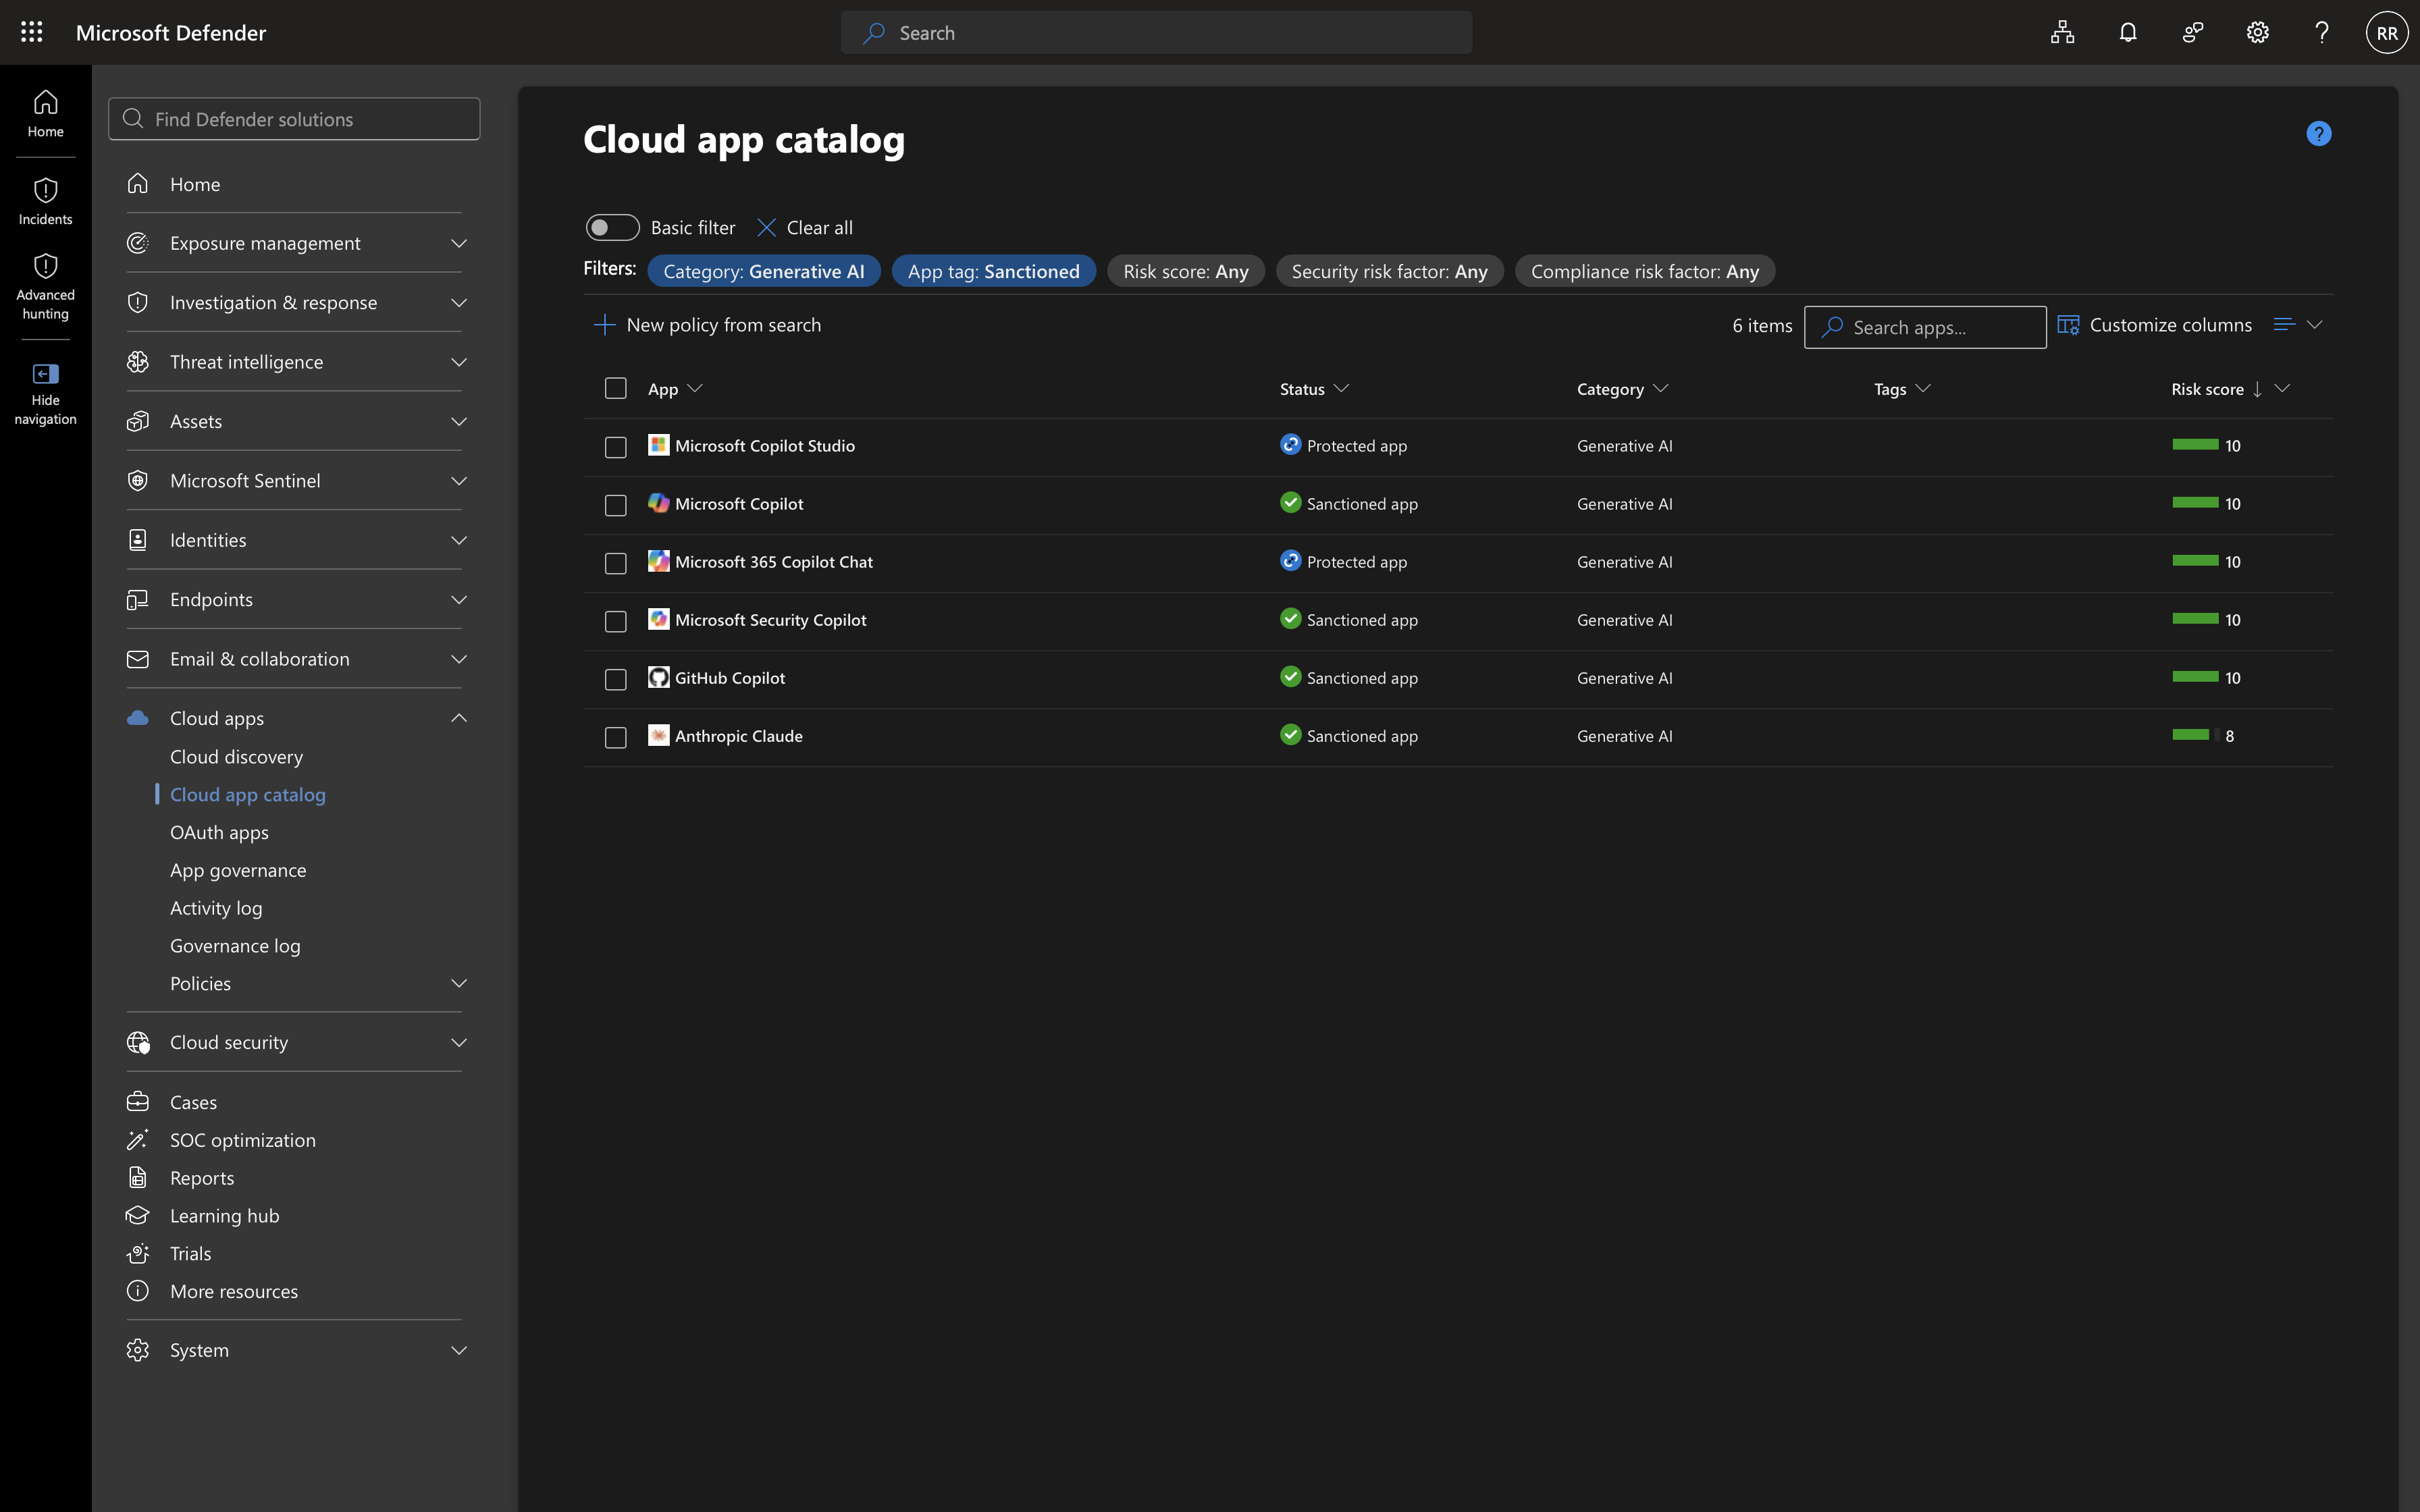
The strength of this approach is that it is preventive, and it applies across the locations Purview has visibility into: endpoints, email, Teams chats, SharePoint/OneDrive, and even prompts sent to Microsoft 365 Copilot and external generative AI tools.
Microsoft Defender for Cloud Apps: Revoking Access on Already-Shared Files
Where Purview DLP is about preventing an action, Defender for Cloud Apps is about correcting a situation that already exists. Think of a document that was shared externally before a label was ever applied, or a file that ended up in a cloud app outside your visibility through a route DLP never inspected.
With a file policy in Defender for Cloud Apps, you can continuously scan for files matching specific conditions, for example an access level of External or Public combined with a sensitivity label or a sensitive information type detected through the Data Classification Service. Once a file matches those conditions, automated governance actions can follow, including:
- Remove external users: removes all collaborators outside the internal domains configured in your settings
- Remove public access / remove direct shared link: revokes a shared link or restricts access to named collaborators
- Make private: removes all shares, leaving access to site administrators only
- Remove a collaborator: revokes access for one specific person without affecting the rest
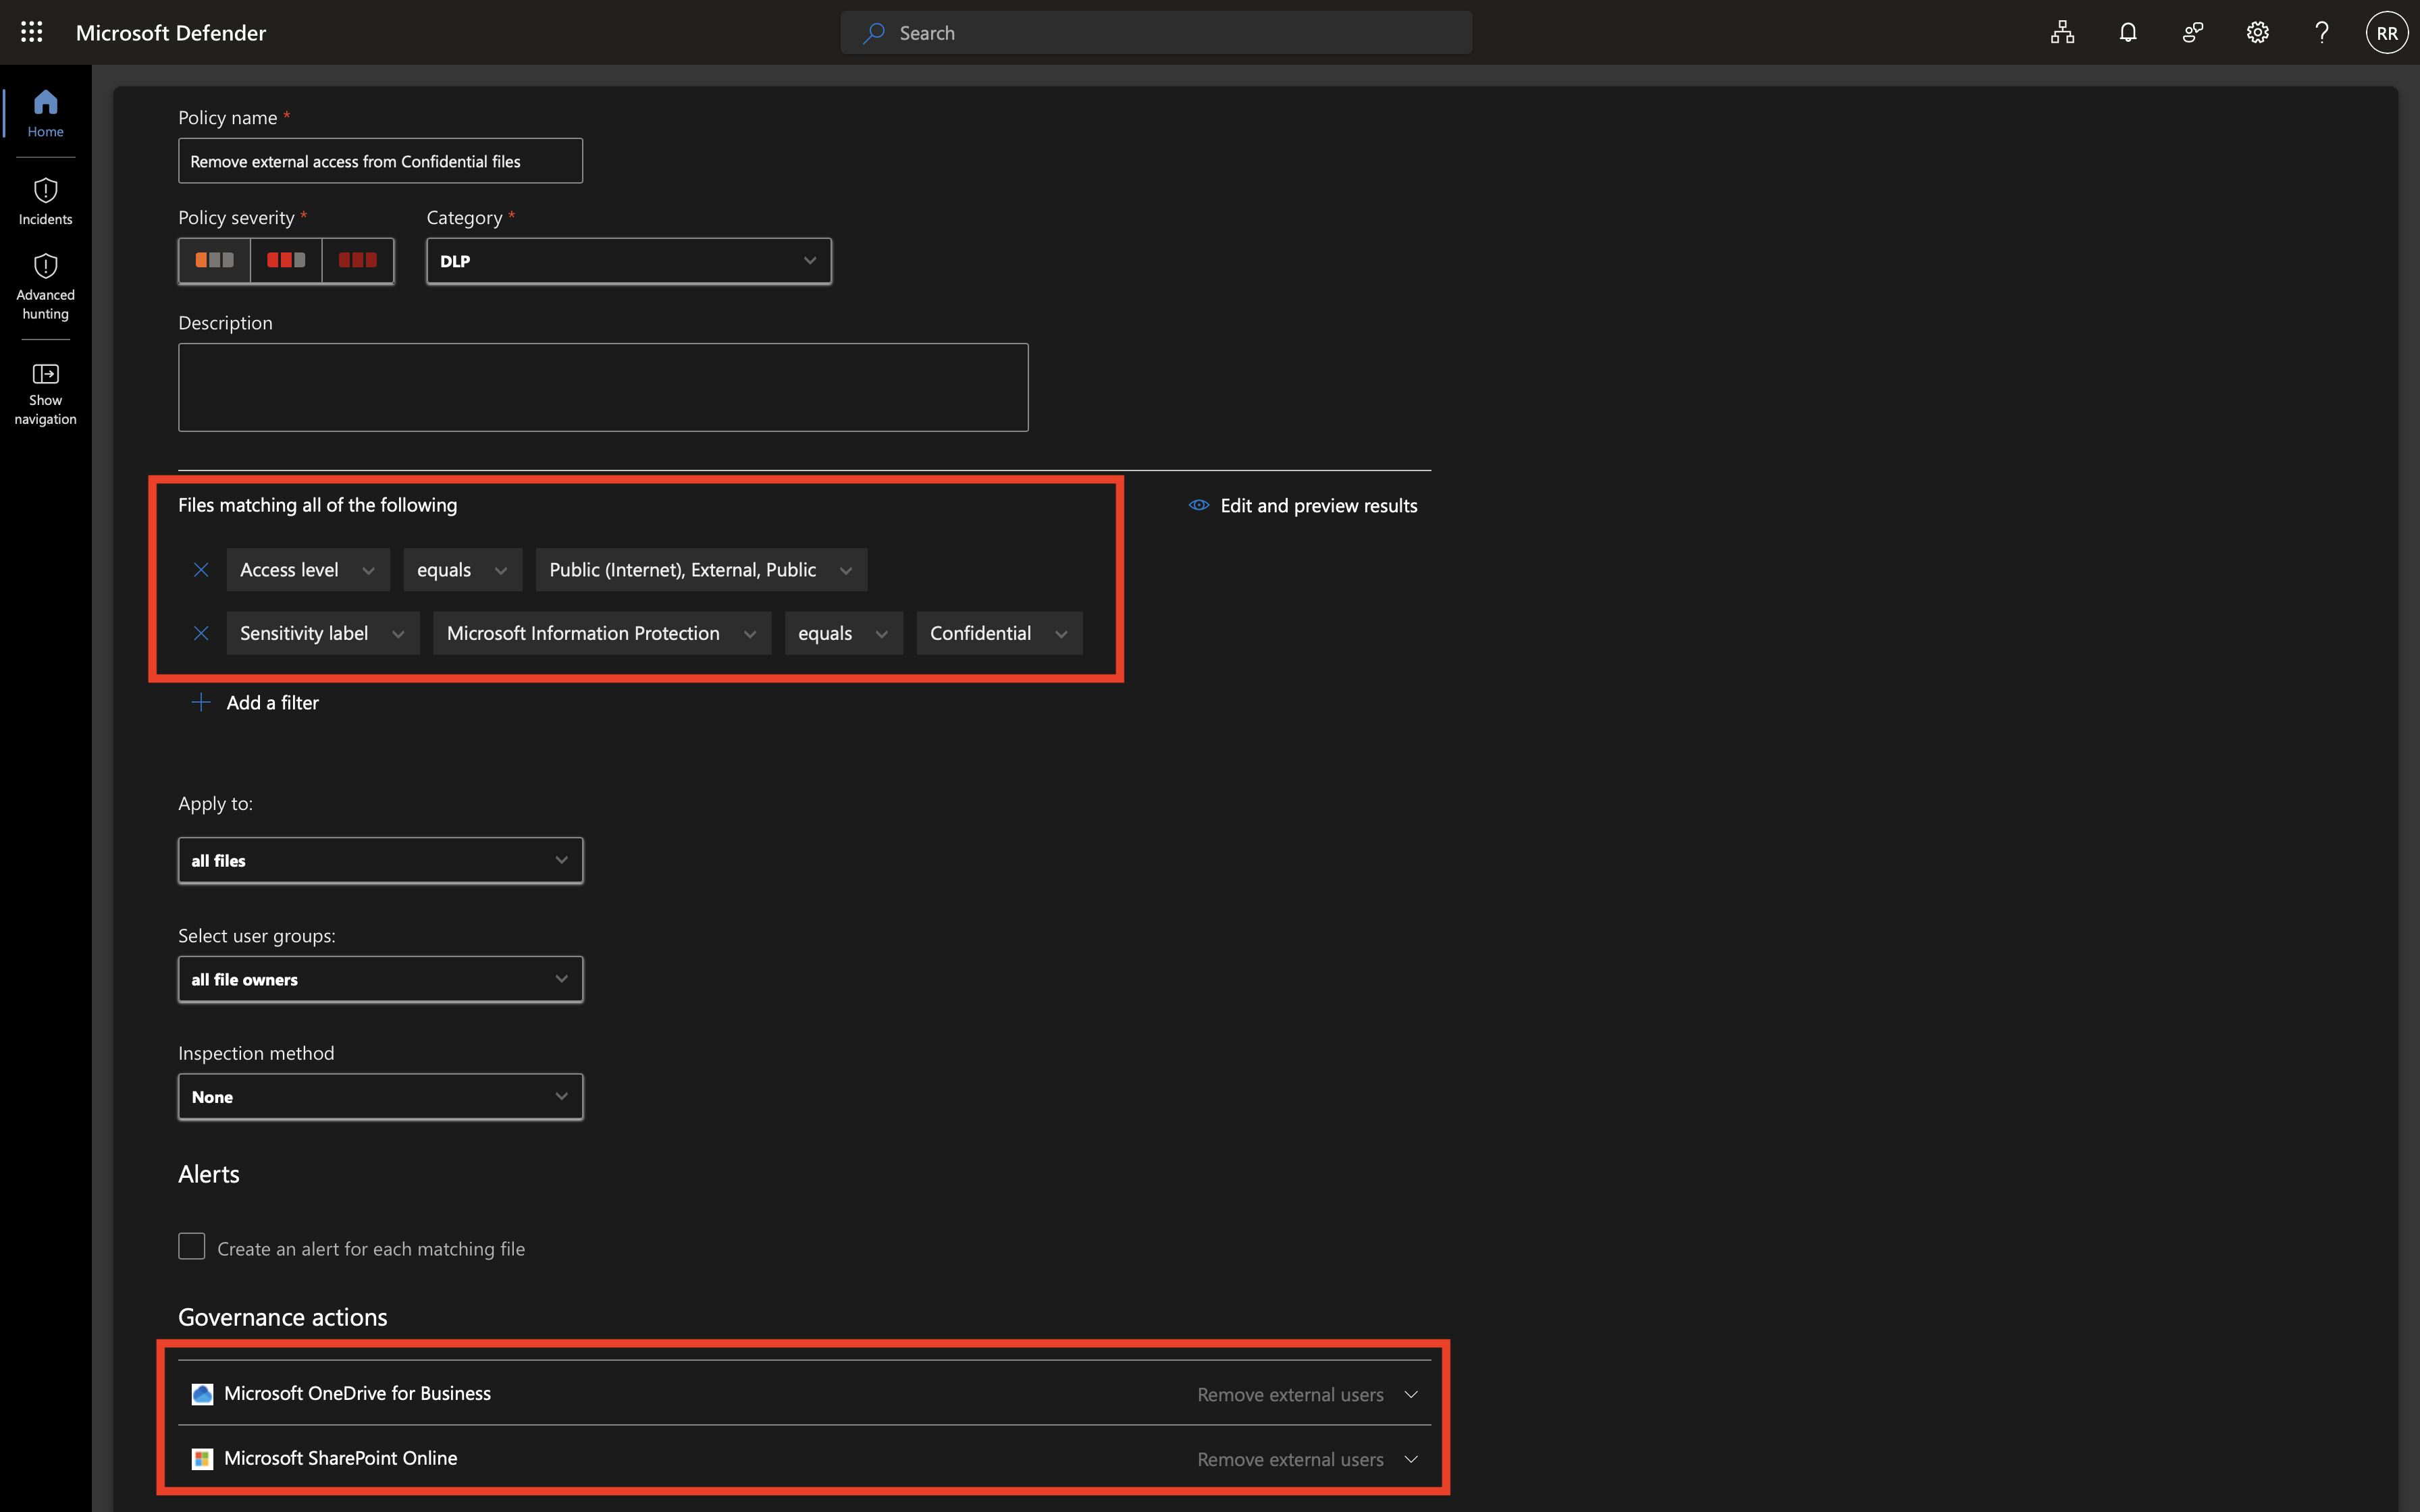
This works across connected apps such as SharePoint, OneDrive, Google Workspace, and Box, which makes it particularly valuable as a backstop for content that was already shared before it was classified, or for gaps that fall outside Purview DLP’s preventive reach.
Why You Need Both
Microsoft Purview DLP intervenes before or during the action (preventive), triggered by classification detected during an activity, typically blocking sharing, copying, pasting, or uploading, across endpoints, email, Teams, SharePoint/OneDrive, Copilot, and browsers.
Microsoft Defender for Cloud Apps intervenes after the action, on data at rest (corrective), triggered by a continuous scan of files against conditions such as access level and label, typically revoking permissions, undoing sharing, or quarantining/making files private, across connected cloud apps such as SharePoint, OneDrive, Google Workspace, and Box.
This is where the combination earns its value. Purview DLP prevents a large share of risky actions from happening at all. But no preventive layer is airtight: files shared before a label was applied, or content that leaked out through an unmanaged path, will slip through. Defender for Cloud Apps acts as the safety net, continuously scanning what is already out there and revoking access the moment it should not have been granted.
Conclusion
Data protection is not a single control, it is a layered model:
- Classify first: sensitivity labels and sensitive information types are the foundation both solutions depend on. Neither Purview DLP nor Defender for Cloud Apps has anything to act on without classification.
- Microsoft Purview DLP: prevents risky actions on sensitive content at the moment they happen, across endpoints, email, Teams, and browsers.
- Microsoft Defender for Cloud Apps: continuously scans already-shared content in connected cloud apps and revokes access when it violates policy.
Prevent where you can, correct where you must. Together, these two layers close the gap that either one would leave open on its own.