
I currently work at a Managed Security Service Provider (MSSP), delivering comprehensive security solutions to over twenty clients. One of our primary objectives is to enhance clients’ security resilience by utilizing Microsoft Secure Score as a key metric. We aim to elevate the Secure Score to a minimum of 75 percent. Given the number of clients, I recognized the need for a centralized dashboard to monitor all scores efficiently. In this blog post, I will outline the process of creating a fully automated Power BI dashboard to provide an overview of the Secure Scores for all clients simultaneously.
Presented below is an example of the outcome.

Introduction
I aimed to obtain an overview of the Secure Scores for all clients through full automation, ideally utilizing native Microsoft tools. While numerous approaches exist to achieve this, I opted to use a storage account to store the Secure Score history, an automation account to automatically collect the data from our clients using the Graph API, and Power BI to visualize the data.

We start by creating a storage account to store the data.
Storage Account
I opted to store the data from the Graph API in a blob storage within Azure. First, we create a Storage Account in a newly created Resource Group with the following settings.

To store the data, we create a Container.

Once we have a Storage Account and a container, we must use an app registration to interact with the Graph API and store the data in the container. But before creating the app registration, we need to generate a certificate to authenticate to the App Registration.
Note: Navigate to “Security + Networking,” select “Access keys,” and copy the key for use in a subsequent step.
Certificate
To authenticate to the Storage Account, we create a self-signed certificate and export the certificate with and without the private key. Use the following script to generate and export the certificates to authenticate to the Storage Account.
$certname = "SecureScore"
$cert = New-SelfSignedCertificate -Subject "CN=$certname" -CertStoreLocation "Cert:\CurrentUser\My" -KeyExportPolicy Exportable -KeySpec Signature -KeyLength 2048 -KeyAlgorithm RSA -HashAlgorithm SHA256

Export-Certificate -Cert $cert -FilePath "$certname.cer"

$mypwd = ConvertTo-SecureString -String "StrongPassword" -Force -AsPlainText
Export-PfxCertificate -Cert $cert -FilePath "$certname.pfx" -Password $mypwdNote: The “.CER” file is the certificate without the private key, and the “.PFX” file is the certificate with the private key. We use the “.CER” file for the App Registration and the “.PFX” file for the Automation Account.
With the required certificate in hand, we will proceed to create an App Registration. This registration will facilitate communication with the Graph API to retrieve the Secure Score data.
App Registration
In Entra ID, we select “App registrations” and click “New Registration” to register a new application.

We give the application a name and click “Register.”

In our newly created app, we select “Certificates & secrets,” select “Certificates,” and upload the certificate we generated in the previous step.

Note: Please save the certificate’s thumbprint, as you will need it for future steps. We also need the ClientID of the App Registration and TenantID which can be found at the overview of the App Registration.
Once the certificate is uploaded, we select “API permissions” and click “Add a permission.” At the top, we select “Microsoft Graph,” followed by “Application permissions.” Search for “SecurityEvents.Read.All” and click “Add permissions.”

To grant the permissions, click “Grant admin consent for domain” and select “Yes.”

Upon completion of the App Registration, data retrieval can be automatically managed using an Automation Account.”
Automation Account
Within the newly created Resource Group, we will add an Automation Account. Upon deploying the Automation Account, navigate to ‘Certificates’ and upload the certificate created in the preceding step.

We will create variables for sensitive data, such as the Storage Account Key, and then use them within the script.
Create the following variables under “Shared Resources / Variables with the correct values we saved previously.
- CertificateThumbprint
- StorageAccountKey
- TenantIDClient01
- ClientIdClient01
Now that we have the variables used in the script, it is time to create a Runbook.
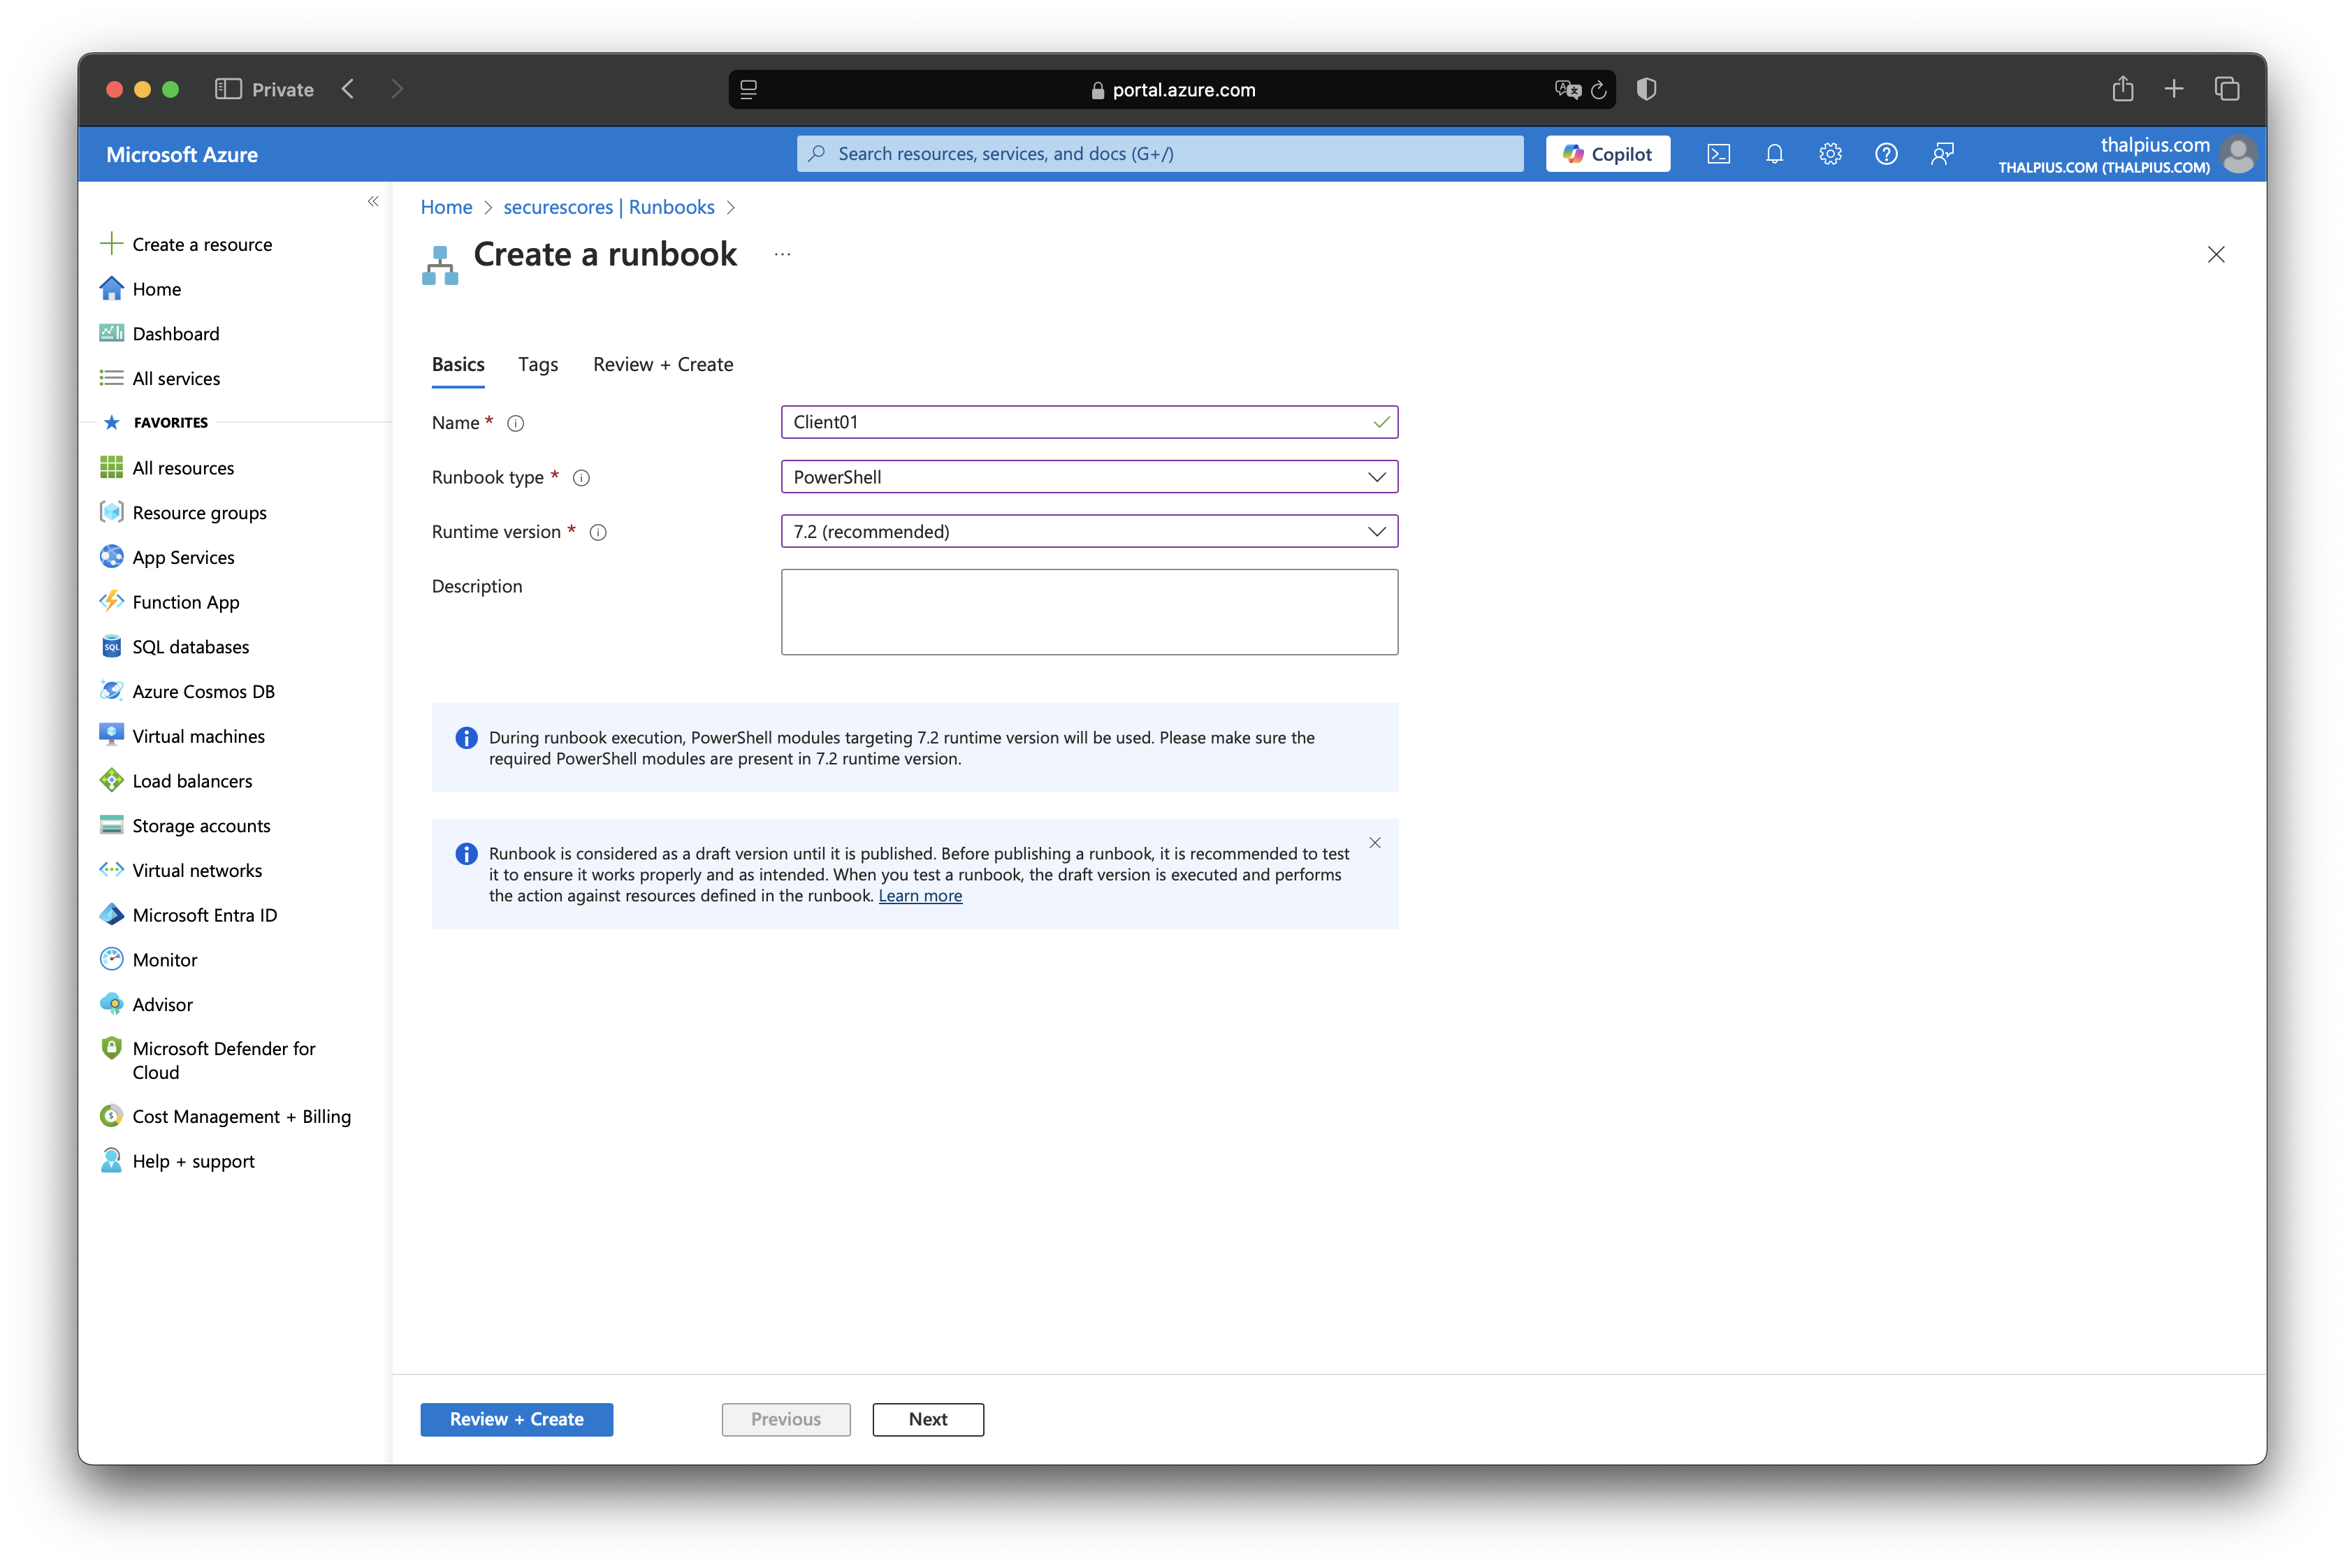
Go to “Process Automation” and select “Runbooks.” Click “Create runbook” and enter the client’s name, type PowerShell and Runtime version 7.2 followed by “Review + Create.”
On the top, click “Edit” followed by “Edit in portal.” Copy the script into the editor and click “Save” and “Publish.”
$ClientIdClient01= Get-AutomationVariable -Name 'ClientIdClient01'
$TenantIdClient01 = Get-AutomationVariable -Name 'TenantIdClient01'
$CertificateThumbprint = Get-AutomationVariable -Name 'CertificateThumbprint'
$StorageAccountKey = Get-AutomationVariable -Name 'StorageAccountKey'

Connect-MgGraph -clientId $ClientIdClient01 -tenantId $TenantIdClient01 -certificatethumbprint $CertificateThumbprint
Get-MgSecuritySecureScore | ConvertTo-Json | Out-File -FilePath "Client01.json"

$ctx = New-AzStorageContext -StorageAccountName "securescore001" -StorageAccountKey $StorageAccountKey
$container = Get-AzStorageContainer -Name "securescore" -Context $ctx

$filesToUpload = Get-ChildItem "Client01.json" -Recurse -File
Set-AzStorageBlobContent -File $filesToUpload.fullname -Container $container.Name -Blob $targetPath -Context $ctx -Force:$Force | Out-Null
If everything went ok, we can see the published Runbook as “Published” in the “Runbooks” section of the Automation Account.

We want to automate the process. Luckily, you can add a schedule that runs once daily, which you can then add to the Runbook.
Under “Shared Resources,” you will see “Schedules.” Click “Add a schedule” at the top and enter the following settings to add a daily schedule.

Now that we have a daily schedule, we can add the schedule to the Runbook.

The last thing we need to do is add the correct modules used in the script.

With all data preparations complete, we will use Power BI to visualize the Secure Score.
Power BI
After we open the Power BI Desktop application, we import our data by clicking “Get Data” and selecting “Azure Blob Storage.”

In the next step, we enter the name of the Storage Account.

We need to connect to the Storage Account using the Access Key.

Tick the container name and click “Load.”

The JSON file is a binary object. To convert it to usable data, click the two down-arrows next to “Content.”

The data should look like this.

You can see the data we will work with on the right side.

If we add a “Line Chart” and the “CreatedDateTime” for the “X-axis” and “Sum of Current Score” for the Y-axis, we see that the calculation of the Secure Score is incorrect.

The score is incorrect due to the point system that Microsoft used. We can easily fix this by using a simple calculation.
SecureScoreClient01 =

DIVIDE(
    SUM('Client01'[CurrentScore]),
    SUM('Client02'[MaxScore])
) * 100
Select the “securescore” table on the right-hand side and click “New Calculation”. Enter the code above and use “SecureScoreClient01” for the Y-axis. The end result should look like this.

When adding multiple clients, repeat the previous steps. Since the certificate is the same, adding a new client should be easy.
Conclusion
In this blog post, I demonstrated how to create a dashboard of a single client’s Secure Score using a fully automated process and native Microsoft tooling. Repeating the previous steps makes adding multiple clients easy, and using the same certificate makes creating another certificate unnecessary. My initial thought was to create the dashboard with the Secure Score and Key Performance Indicator. When serving multiple clients, the next step is to add which Recommended Action is open for the most clients so I can implement a Recommended Action for all clients.
