As AI agents become an increasingly important part of modern work, organizations need a way to govern them with the same level of control and consistency applied to human identities. Microsoft Entra Agent ID is the identity platform purpose-built for AI agents. It extends the security and governance capabilities of Microsoft Entra, including Conditional Access, Identity Protection, and audit logs, to the agents running in your tenant.
At its core, Microsoft Entra Agent ID introduces a new identity model built around three key concepts: the Blueprint, the Blueprint Identity, and the Agent Identity. Understanding how these fit together is essential before deploying or governing agents at scale.
Table of Contents
- Classic Agents vs. Modern Agents
- What is an Agent Identity Blueprint?
- What is a Blueprint Identity?
- What is an Agent Identity?
- What is an Agent User?
- How It All Fits Together
Disclaimer: This blog post is provided for informational purposes only. While every effort has been made to ensure accuracy, implementation of these features should be performed by qualified administrators in accordance with your organization’s security and change management policies. The author is not responsible for any issues, data loss, or security incidents that may occur from following this guidance. Always test in a non-production environment first and consult official Microsoft documentation before implementing security features in production.
Classic Agents vs. Modern Agents
Before diving into the concepts, it is worth understanding the distinction between classic and modern agents, as both may exist in your tenant simultaneously.
Classic agents are AI agents created as standard service principals or app registrations, for example, agents built in Copilot Studio before the Microsoft Entra Agent ID platform was enabled. They appear in the Microsoft Entra Agent Registry with ‘Has Agent ID: No’. Classic agents cannot be protected by Microsoft Entra Agent ID security features such as Identity Protection for Agents or Conditional Access for Agents.
Modern agents are agents created through the Microsoft Entra Agent ID platform, each backed by an Agent Identity Blueprint. They have a proper Agent ID, full audit trail, and support the complete set of governance capabilities.
Microsoft has indicated a migration tool is planned to help convert classic agents to modern agents. In the meantime, it is worth auditing your tenant to understand which agents fall into which category.

What is an Agent Identity Blueprint?
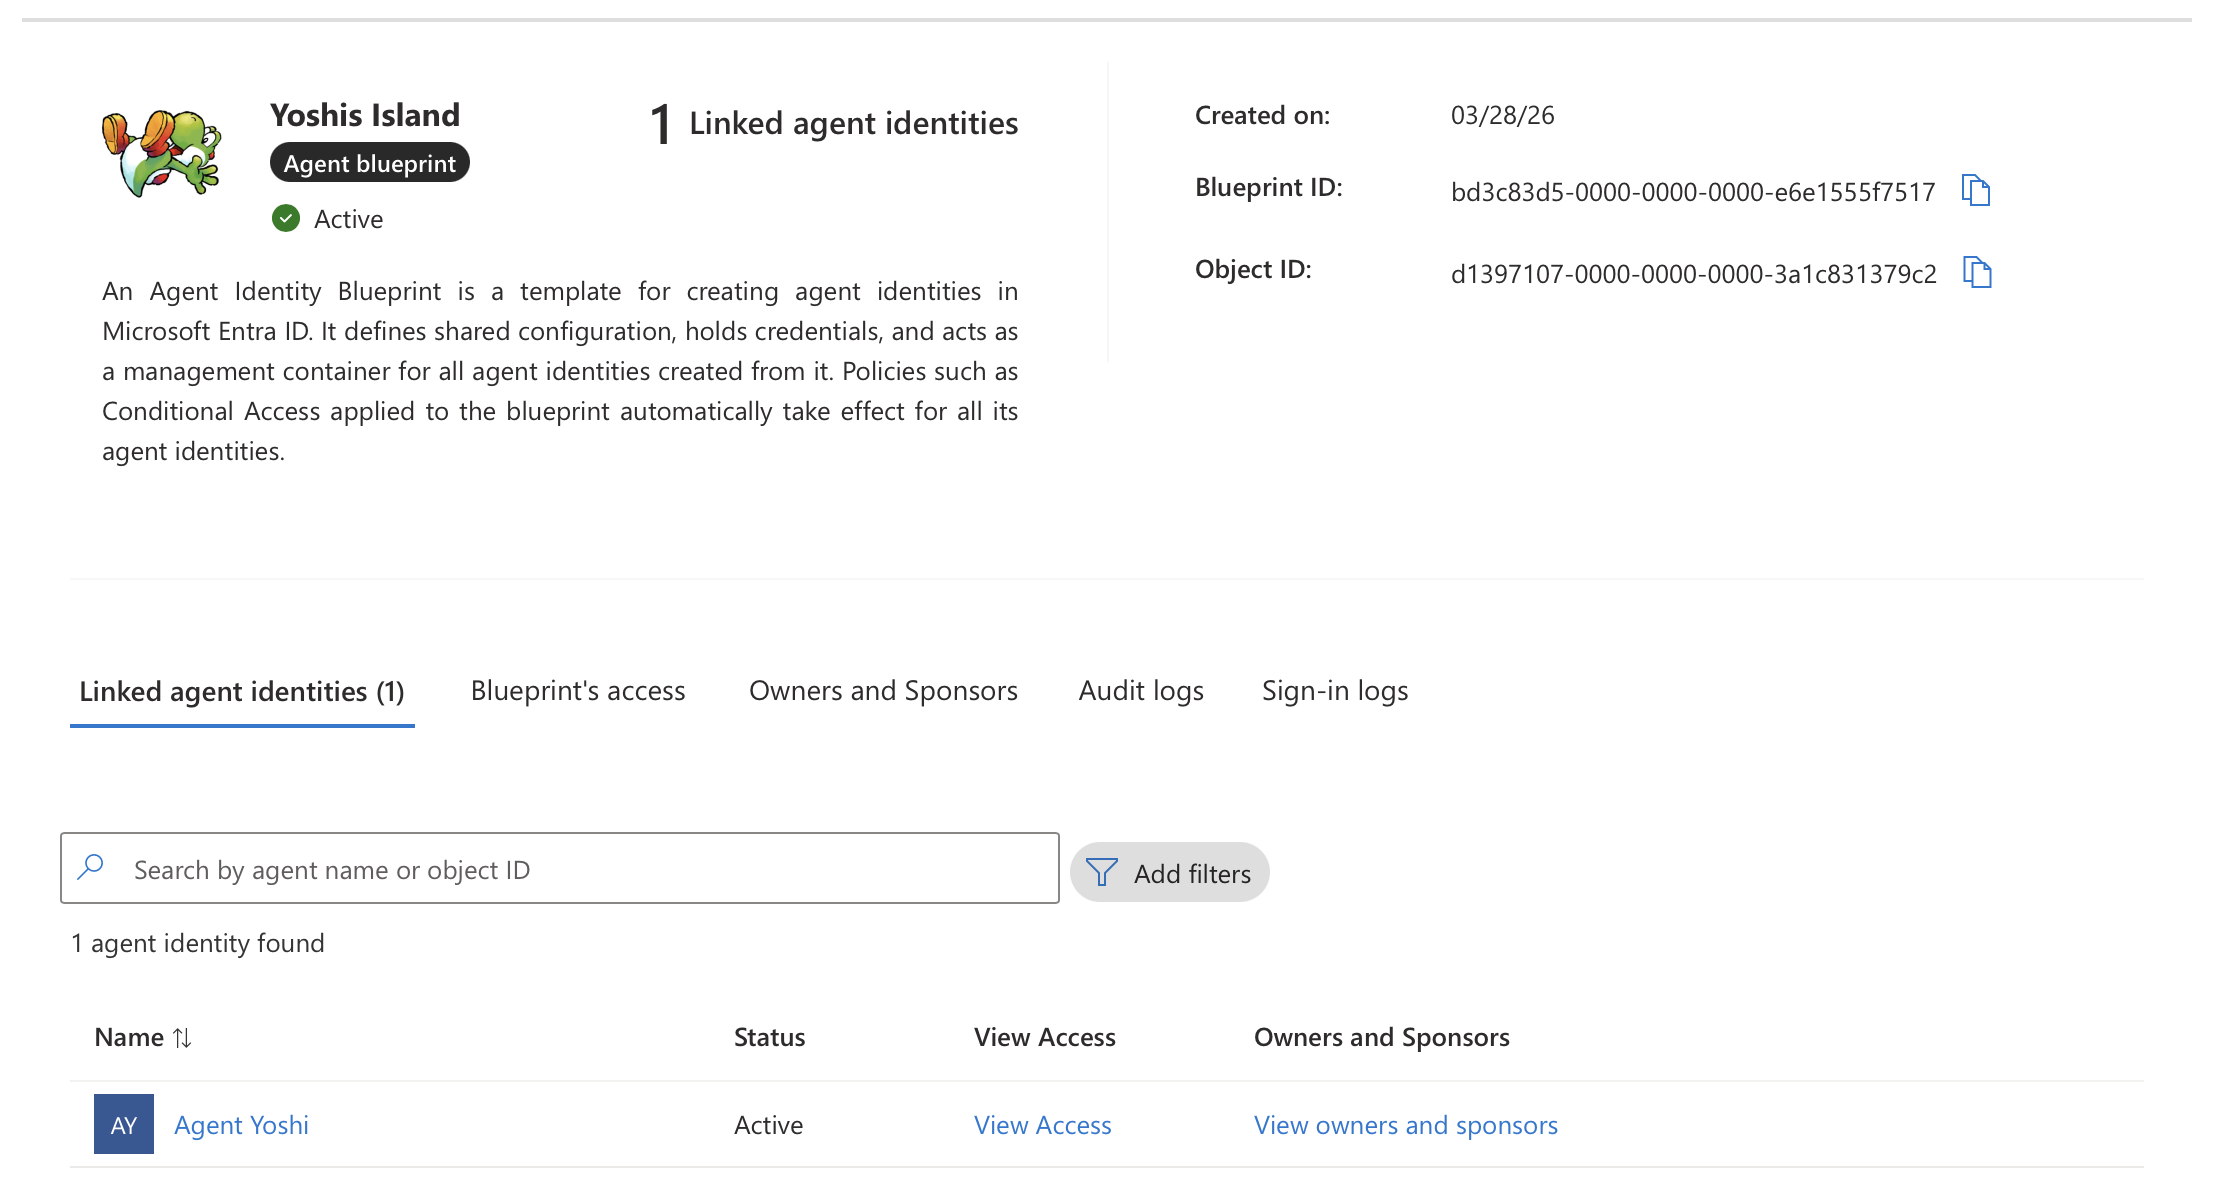
An Agent Identity Blueprint is an object in Microsoft Entra ID that serves as a template for creating agent identities. It establishes the foundation for how agents are created, authenticated, and managed within an organization. All modern agent identities in a Microsoft Entra ID tenant are created from an agent identity blueprint.
A blueprint serves four purposes:
Template: Blueprints record shared characteristics so that all agent identities created using the blueprint have a consistent configuration. Organizations can deploy many instances of an AI agent, each pursuing a different goal and requiring a different level of access, yet they all share a common foundation.
Identity: A blueprint is not just an information store. It is also a special identity type within a Microsoft Entra ID tenant. A blueprint can perform exactly one operation in the tenant: provision or deprovision agent identities.
Credential container: Agent identities do not have credentials of their own. Instead, the credentials used to authenticate are configured on the blueprint. When an AI agent wants to perform an operation, the blueprint’s credentials are used to request an access token from Entra ID.
Management container: Identity administrators can apply policies and settings to a blueprint that takes effect for all agent identities created from it. Examples include Conditional Access policies and OAuth permissions granted at the blueprint level.
Technically, a blueprint consists of two parts: the blueprint application, which defines the configuration, and a Blueprint Principal, the service principal that makes the blueprint visible and usable within the tenant. This is conceptually similar to the relationship between an App Registration and an Enterprise Application.
What is a Blueprint Identity?
An Agent Identity Blueprint Principal is an object in Microsoft Entra Agent ID that represents the presence of an agent identity blueprint within a specific tenant. When an agent identity blueprint is added to a tenant, Microsoft Entra creates a corresponding principal object.
The principal has two important roles:
Token Issuance: When the blueprint is used to acquire tokens within a tenant, the resulting token’s object ID claim references the blueprint principal. This ensures that any authentication or authorization performed by the blueprint is traceable to its principal object in the tenant.
Audit Logging: Actions performed by the blueprint, such as creating agent identities, are recorded in audit logs as being executed by the blueprint principal.
This is what gives you visibility and accountability. Every action taken by the blueprint shows up in the Microsoft Entra audit logs under the principal’s identity.
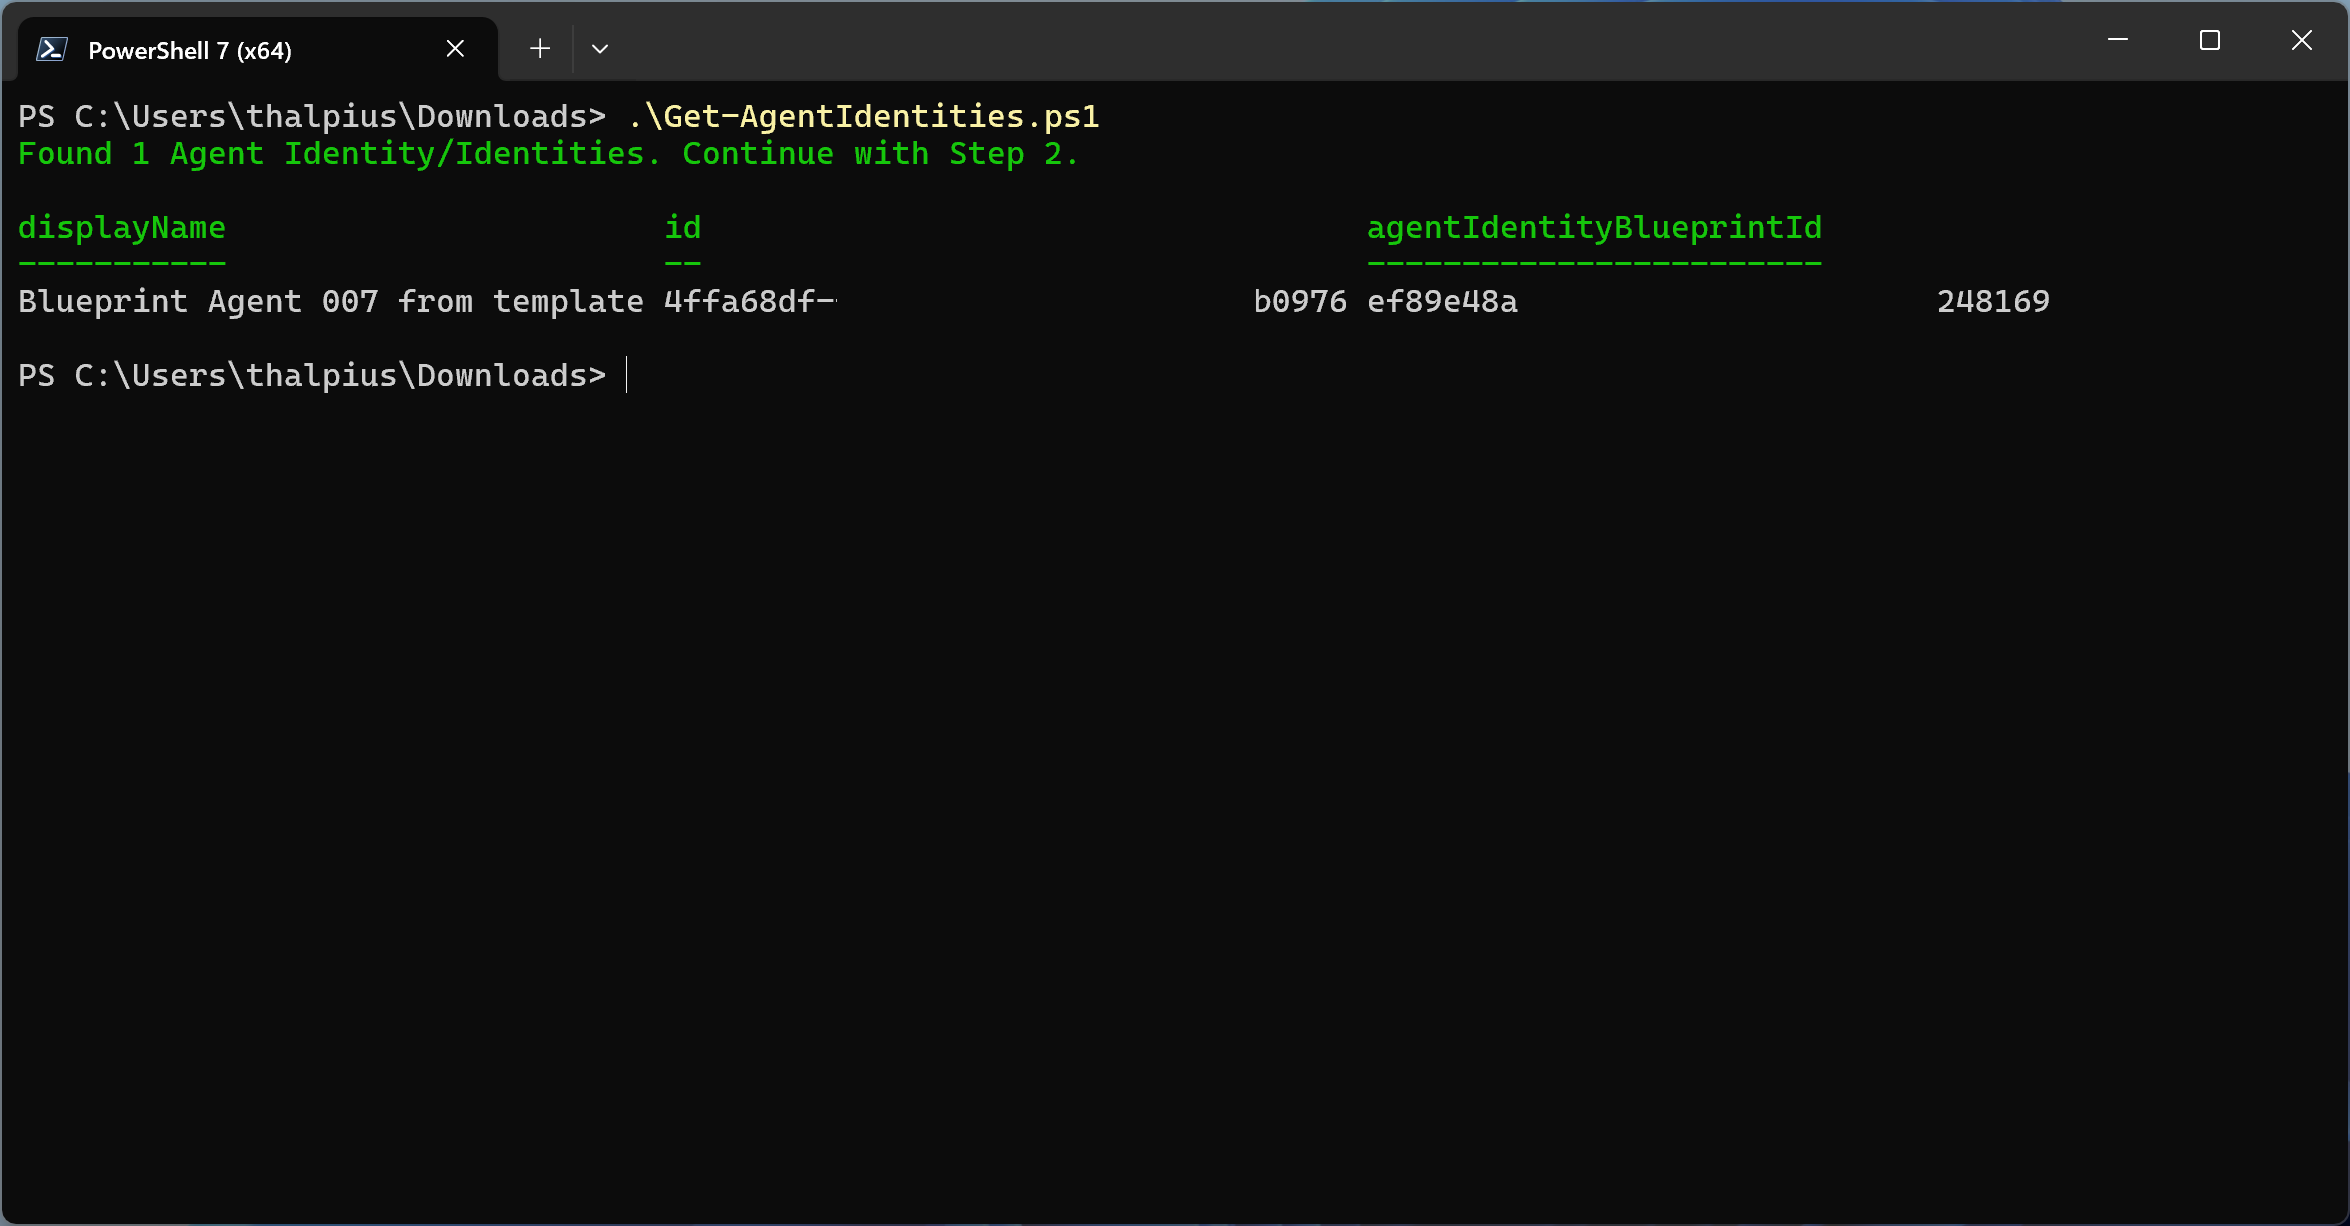
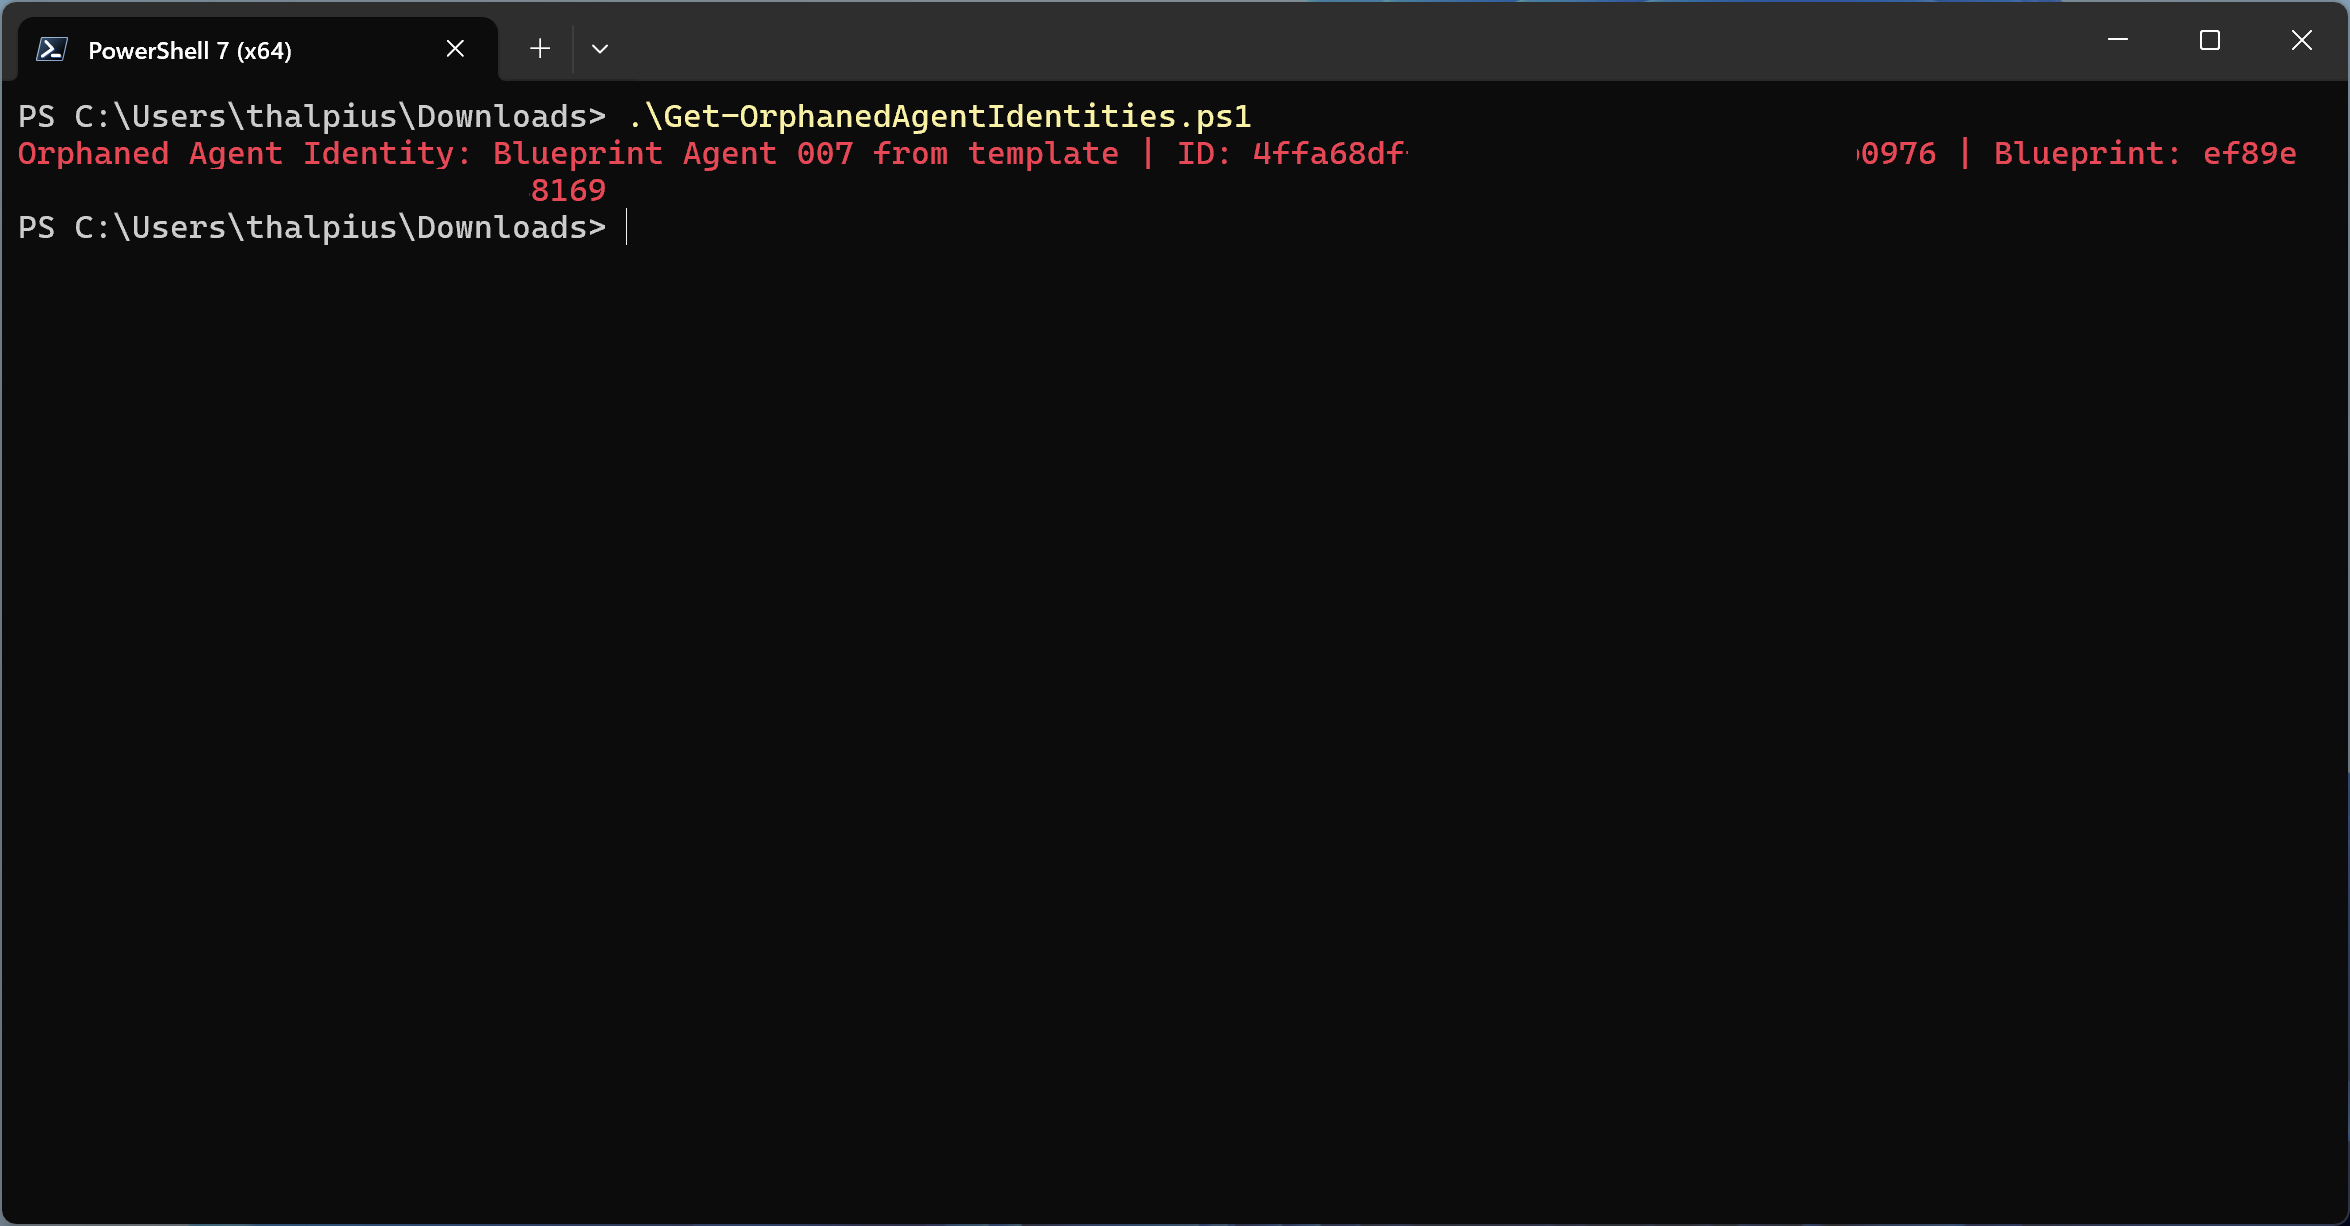
What is an Agent Identity?
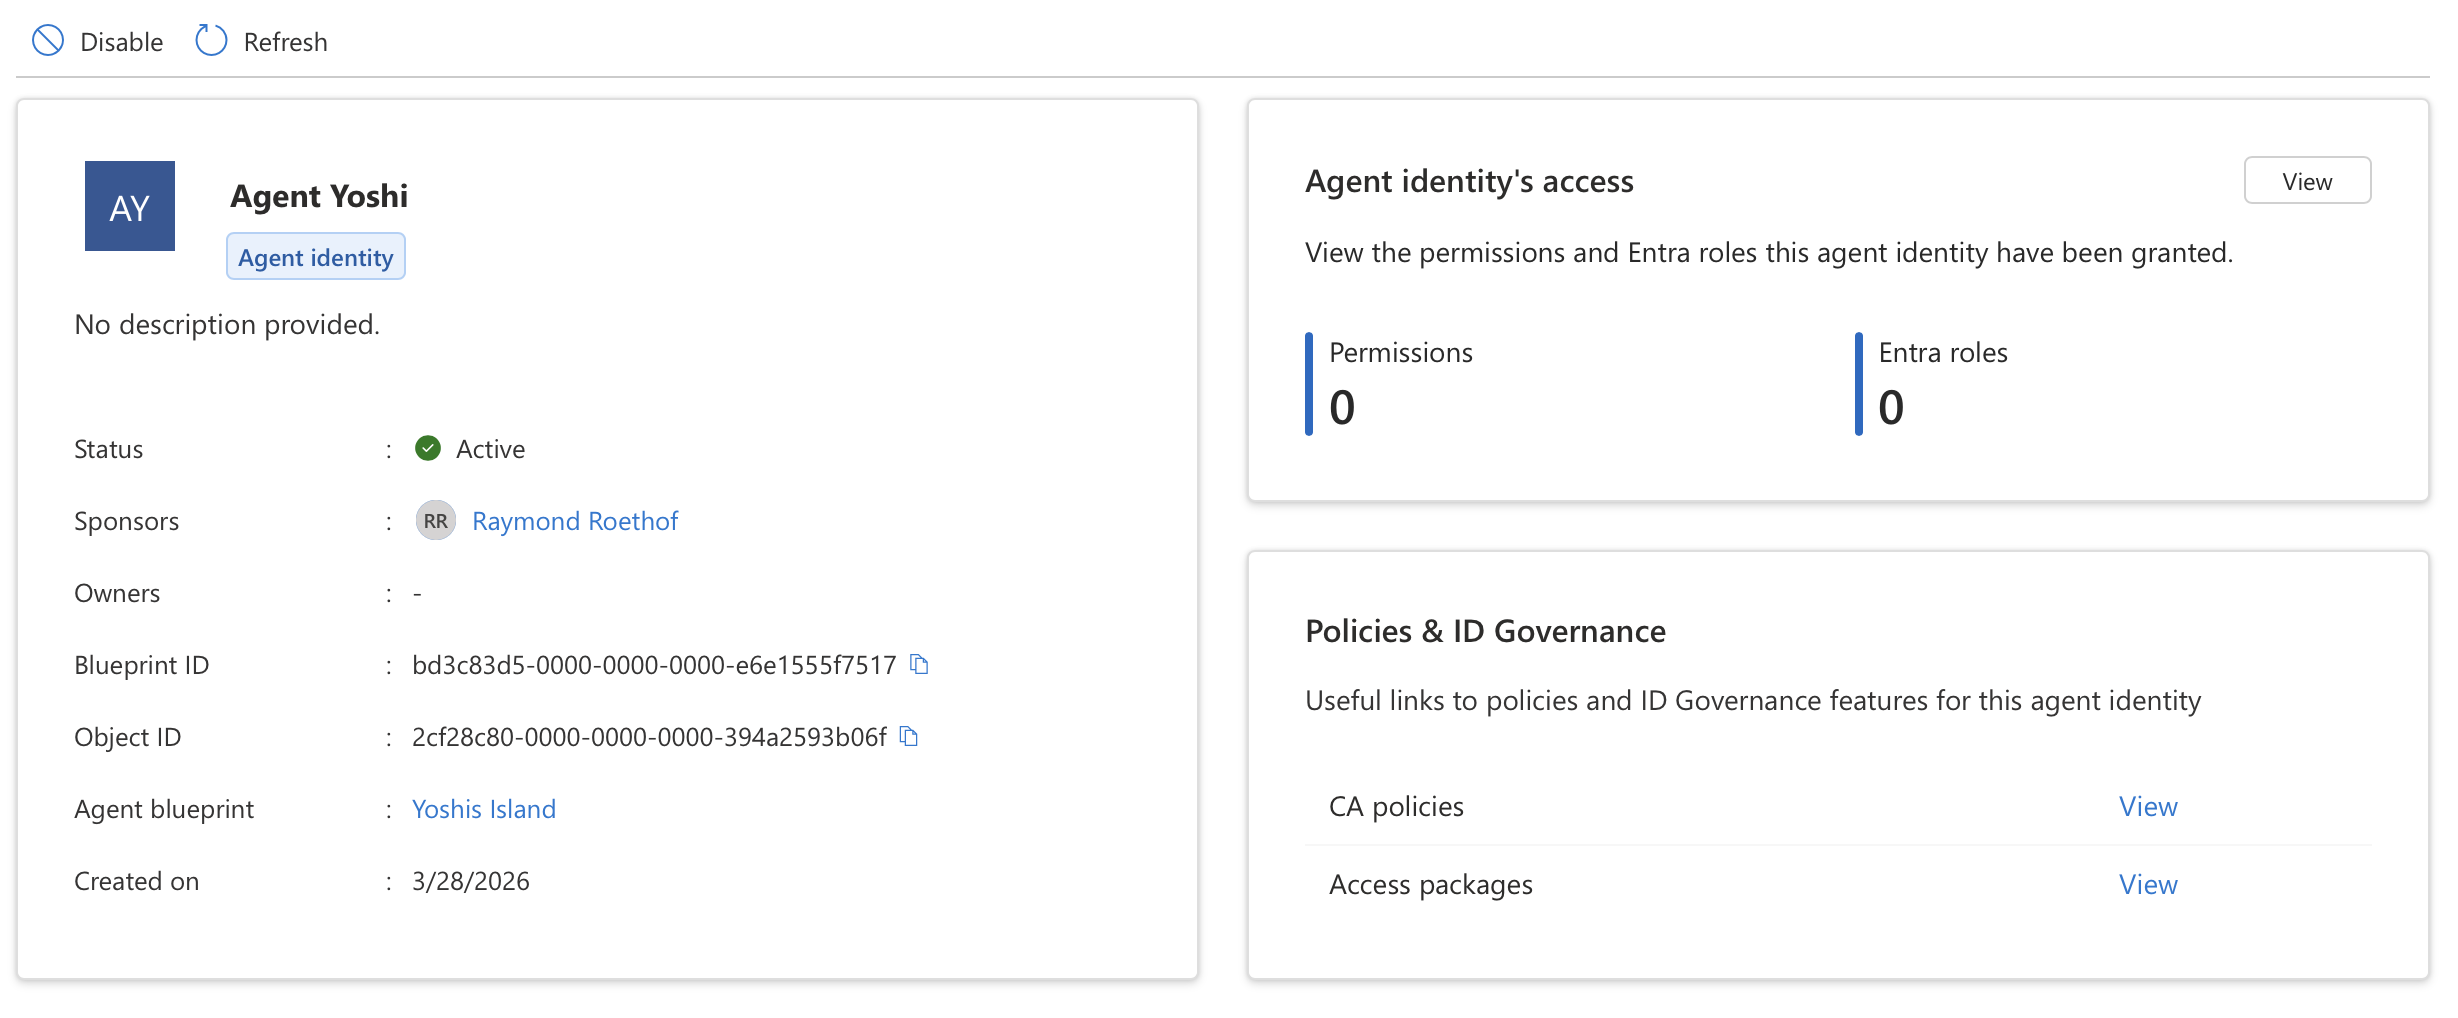
An Agent Identity is a new identity type in Microsoft Entra ID, built on the service principal model but purpose-built for AI agents. It represents an identity that the agent identity blueprint created and is authorized to impersonate. It does not have credentials of its own, the agent identity blueprint acquires tokens on behalf of the agent identity, provided the user or tenant admin consented to the corresponding scopes.
Each agent identity has the following key properties:
- A unique object ID generated by Microsoft Entra
- A display name visible in experiences like the Entra admin center and the Azure portal
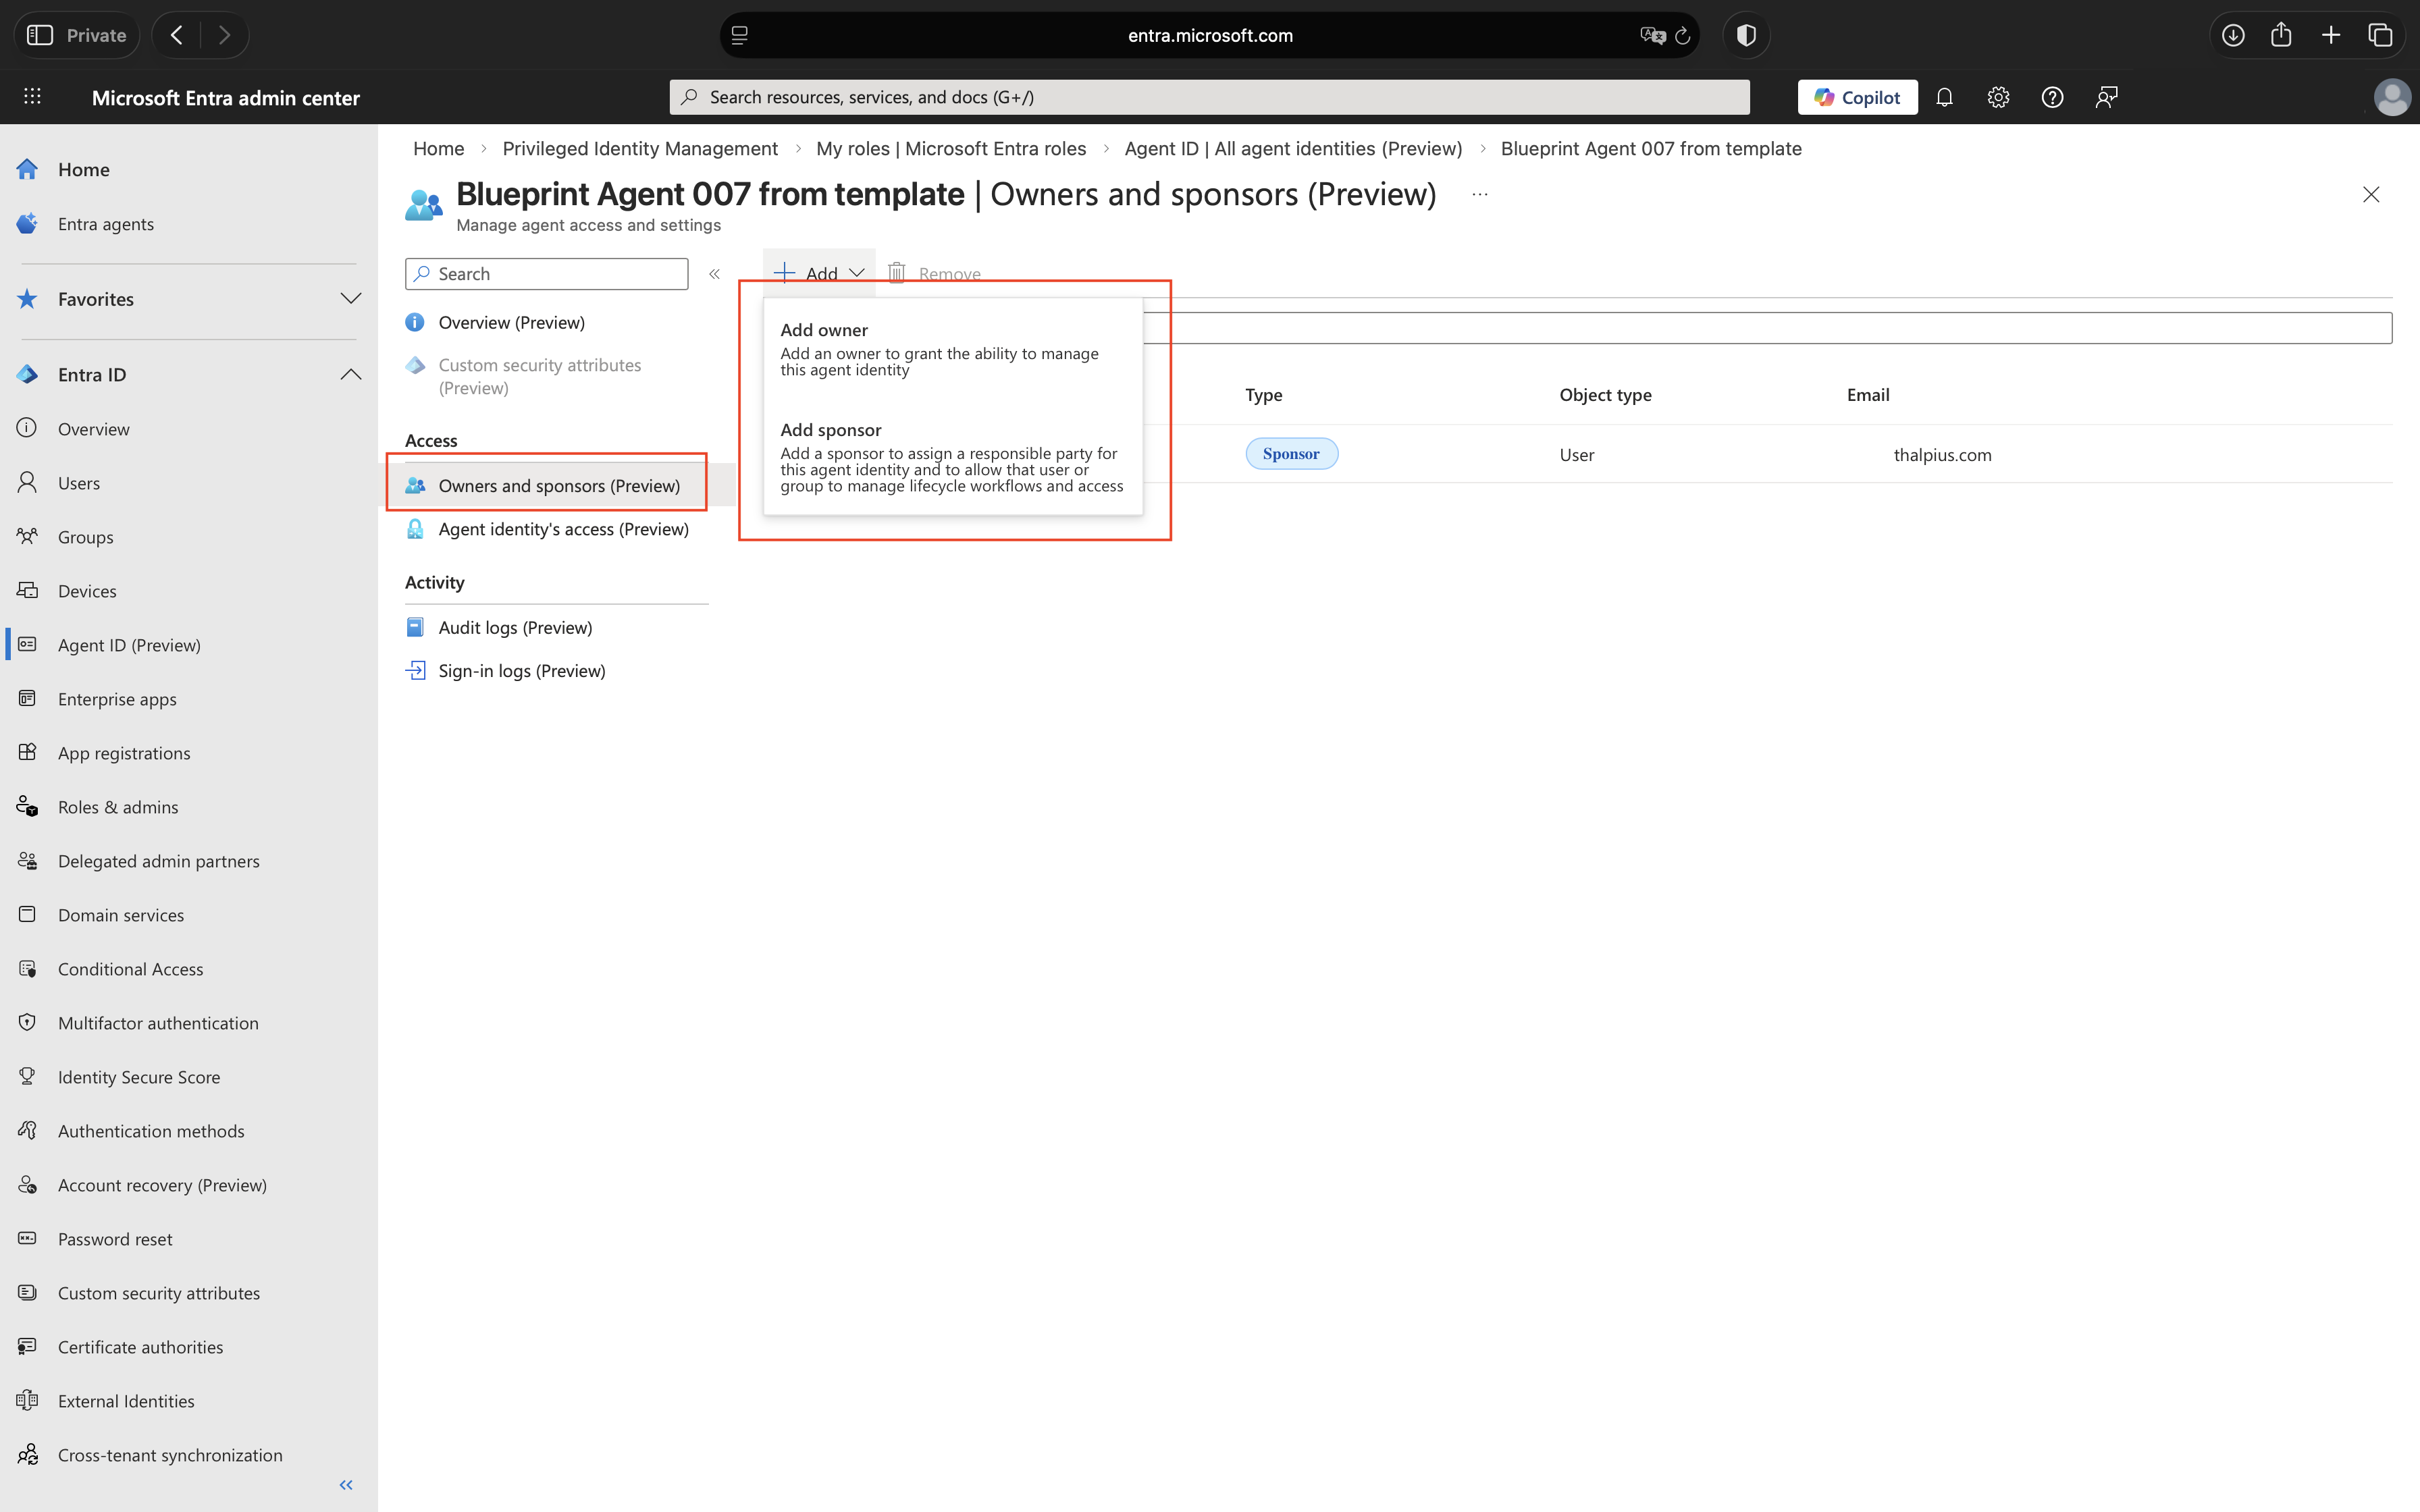
- A sponsor, the human user or group accountable for the agent (required)
- An owner, the person responsible for operational management of the agent (recommended)
The platform supports two primary patterns for how agents operate:
Interactive agents sign in a user and act in response to user prompts, often via a chat interface. They act on behalf of the signed-in user using delegated permissions, and the tokens issued to them are called user tokens.
Autonomous agents perform actions using their own identity, often running in the background and making autonomous decisions. They use app-only tokens (also called agent tokens) and operate without user involvement.
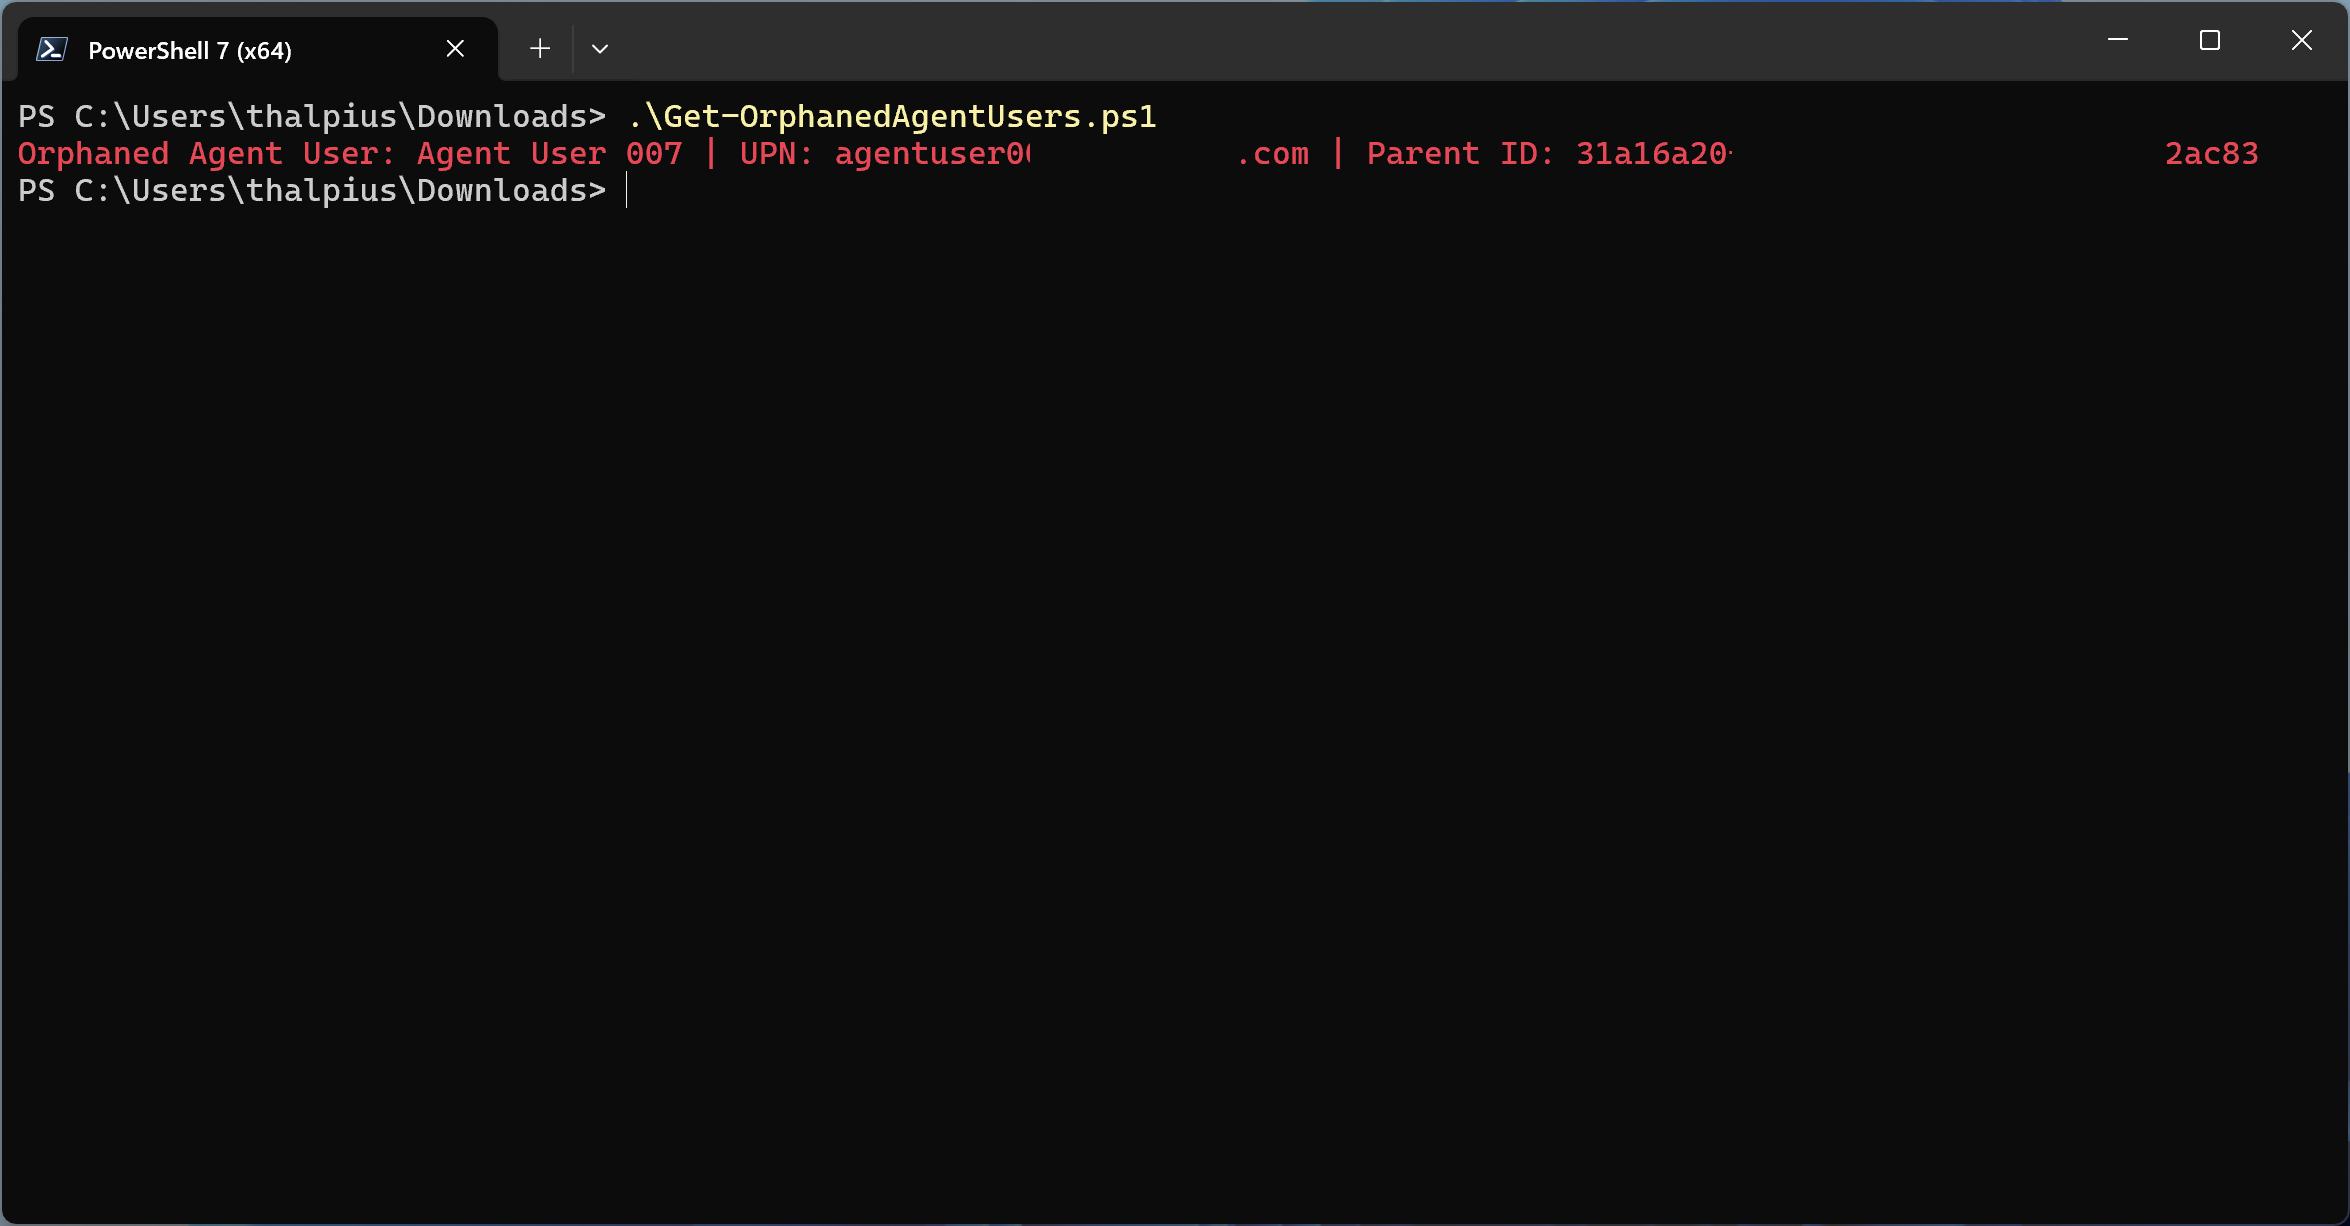
What is an Agent User?
An Agent User is an optional secondary account for scenarios where a system strictly requires a Microsoft Entra user object for authentication. Think of it as a digital worker, an account that behaves like a user, but is owned and controlled by an agent identity.
An agent user is a standard user account decorated as an AI agent, with a strict 1:1 relationship to its parent agent identity. It cannot have passwords or passkeys, cannot be assigned privileged administrator roles, and cannot perform interactive sign-ins. Authentication happens exclusively through the parent agent identity’s credentials.
Agent users are relevant when an agent needs to interact with systems that only accept user tokens, for example, accessing a mailbox or joining a Teams meeting as a participant.
How It All Fits Together
To summarize the relationship between these concepts:
An Agent Identity Blueprint is the template, it defines the configuration, holds the credentials, and can create agent identities. A Blueprint Principal is the tenant-specific instance of that blueprint, visible in the Microsoft Entra portal and responsible for token issuance and audit logging. An Agent Identity is a single AI agent created from the blueprint, with its own object ID and governance properties. An Agent User is an optional user account linked 1:1 to an agent identity for systems that require user authentication.
One blueprint can back many agent identities, each representing a different instance or deployment of the same type of agent. This 1:N relationship is what makes blueprints powerful for organizations running agents at scale.

One of the most powerful aspects of this model is the way Conditional Access policies integrate with blueprints. Because a blueprint acts as a management container for all agent identities created from it, a single Conditional Access policy applied to the blueprint automatically takes effect for every agent identity it produced. This means you can enforce access controls, such as blocking authentication from outside trusted networks or requiring compliant devices, across an entire fleet of agents in one place, without having to configure policies per individual agent identity.