[WARNING] This blog post is created when Microsoft Windows still came in a physical box with multiple installation disks.
Microsoft Defender ATP is a fantastic product on its own and becomes even more impressive when integration between other Microsoft products takes place. This blog post will explain the advantages of integration with Microsoft Defender ATP and how the products complement each other.
Microsoft Defender ATP and Microsoft Office 365 ATP
Through threat intelligence sharing, a malicious attachment identified in Microsoft Office 365 ATP will be identified as malicious in Microsoft Defender ATP as well to block the same malicious file at the endpoint. A file downloaded using a different channel is blocked automatically on the endpoint due to integration between Microsoft Defender ATP and Microsoft Office 365 ATP.
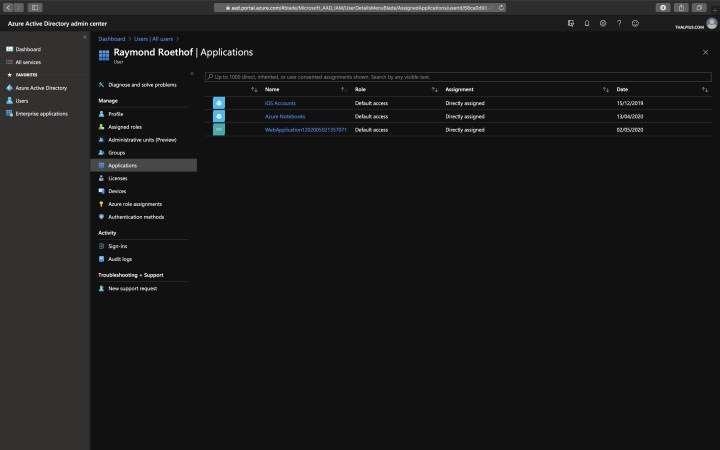
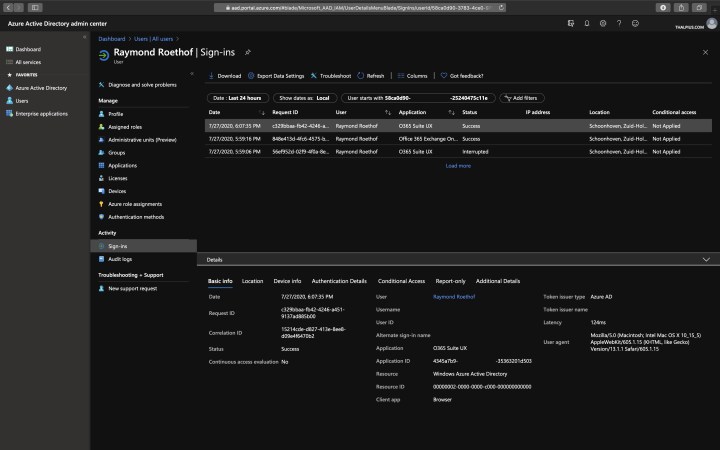
Another advantage of the integration between Microsoft Defender ATP and Microsoft Office 365 ATP is an overview of devices shown that potentially could have been affected by a detected malicious e-mail message. The summary includes how many recent alerts those devices have in Microsoft Defender ATP.
The integration needs to be enabled in Microsoft Office 365 ATP and within Microsoft Defender ATP.
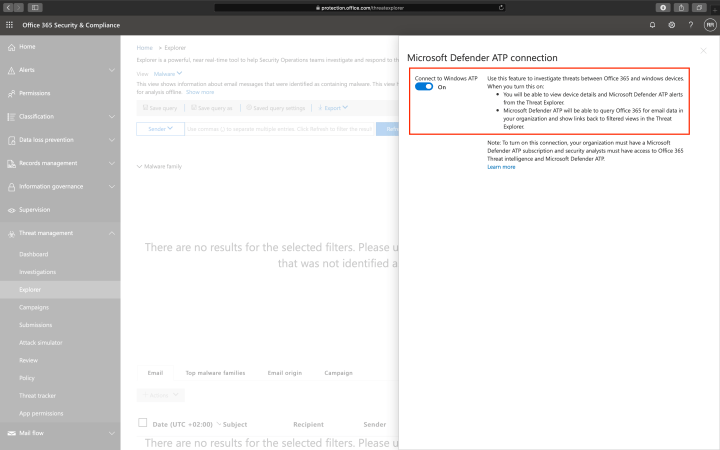
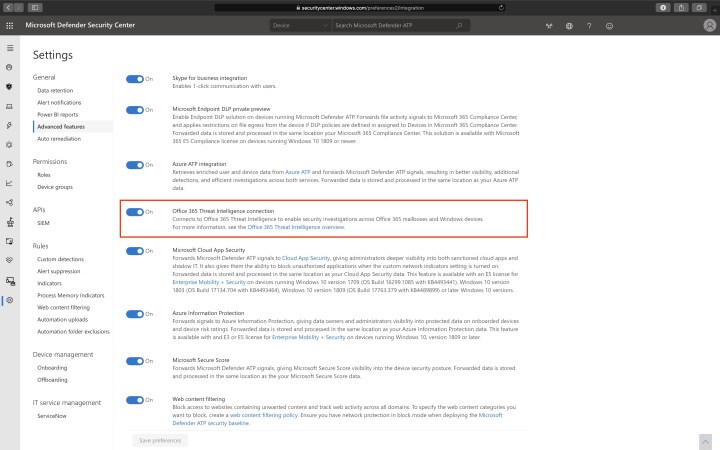
Note: Your organization must have Office 365 ATP Plan 2 and Microsoft Defender ATP.
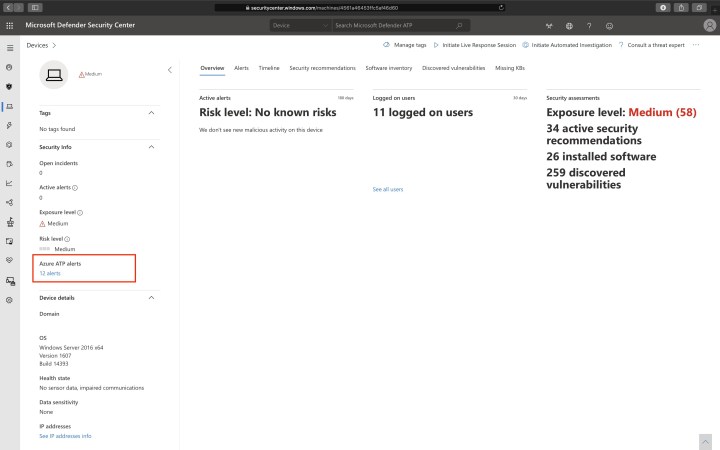
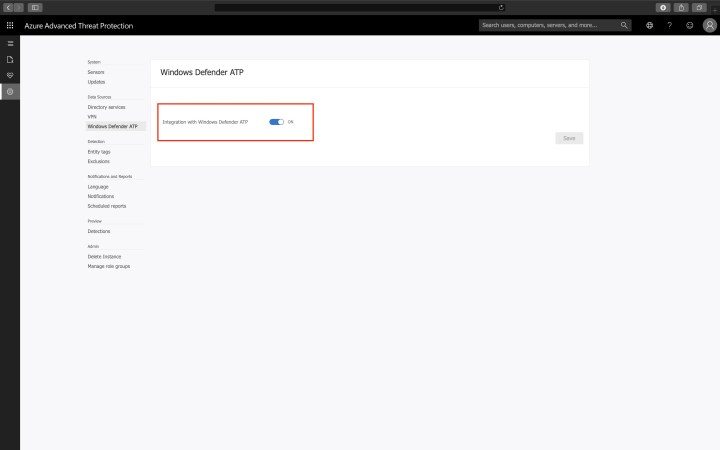
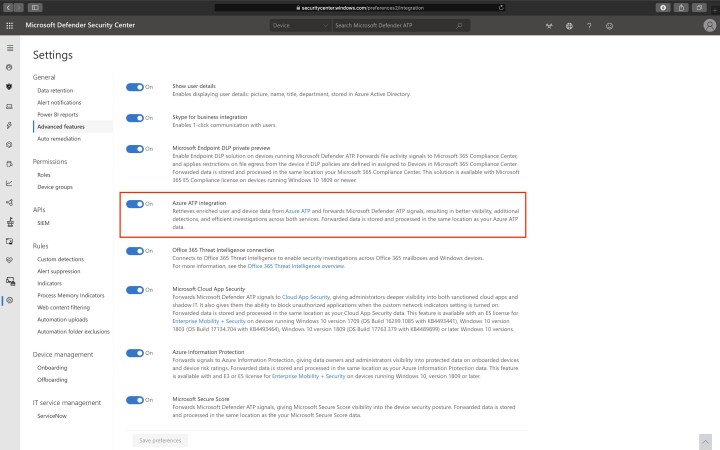
Microsoft Defender ATP and Microsoft Azure ATP
A simple but powerful integration between Microsoft Defender ATP and Microsoft Azure ATP is the alerts shared between the two products.
The Microsoft Azure ATP portal shows Microsoft Defender ATP alerts, and the Microsoft Defender ATP portal shows Microsoft Azure ATP alerts.

The integration needs to be enabled in Microsoft Azure ATP and within Microsoft Defender ATP.
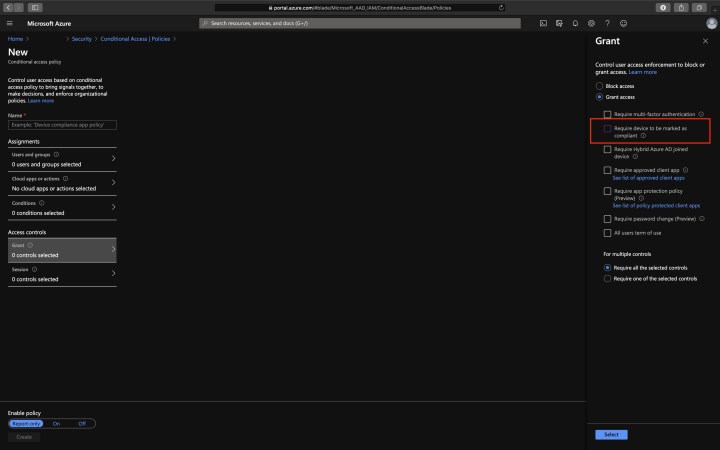
Microsoft Defender ATP and Azure AD Conditional Access
Microsoft Intune supports the integration between Microsoft Defender ATP and Azure AD Conditional Access.
If a device is non-compliant due to a Microsoft Intune policy, Conditional Access can block the device from accessing company data.
Microsoft Defender ATP and Azure Security Center
The integration between Microsoft Defender ATP and Azure Security Center Standard Tier automatically enables the Microsoft Defender ATP sensor for Windows Server 2008 R2 SP1, Windows Server 2012 R2, and Windows Server 2016 monitored by Azure Security Center. Windows Server is automatically on-boarded with integration enabled.
Alerts in Microsoft Defender ATP are shown in the Azure Security Center as well.
To integrate Microsoft Defender ATP with Azure Security Center, use the following option.

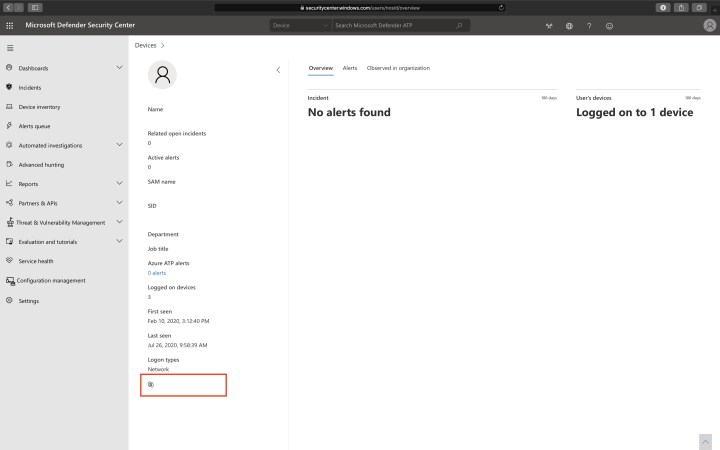
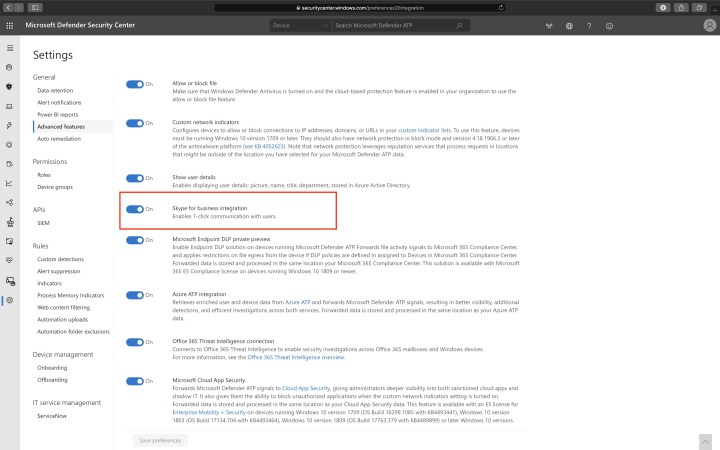
Microsoft Defender ATP and Skype for Business
A minor but helpful benefit of Skype for Business integration with Microsoft Defender ATP is a one-click communication with the user.
To integrate Microsoft Skype for Business with Microsoft Defender ATP, use the following option.
Microsoft Defender ATP and Microsoft Threat Protection
Microsoft Threat Protections and various Microsoft security solutions natively integrate Microsoft Defender ATP and other Microsoft security solutions. More on Microsoft Threat Protection in a future blog post.
Conclusion
This blog post is about integration with Microsoft Defender ATP alone. Integration with Microsoft Defender ATP has many benefits, as shown in this blog post. Imagine data correlation and integration between all Microsoft products.