[WARNING] This blog post is created when Microsoft Windows still came in a physical box with multiple installation disks.
There are multiple ways to enable Multi-Factor Authentication (MFA) within Microsoft Office 365. This blog post will describe the various technical implementations of Multi-Factor Authentication, including the best-practice to implement it.
Azure AD MFA Per User
There are three Multi-Factor Authentication statuses within Microsoft Office 365: Enabled, Enforced, and Disabled. The status Enabled indicates that Multi-Factor Authentication is enabled, but the user did not go through the Multi-Factor Authentication registration yet. When the user goes through the Multi-Factor Authentication registration, the status changes to Enforced. Disabled means that Multi-Factor Authentication is not enabled, and the user does not have to log in with a Multi-Factor.
The risk by enabling Multi-Factor Authentication on a user-basis is misconfiguration since Multi-Factor Authentication is not enabled by default when creating a new user account. An administrator can forget enabling Multi-Factor Authentication, which increases the risk of a successful password attack due to missing Multi-Factor Authentication.

Azure AD MFA via Conditional Access
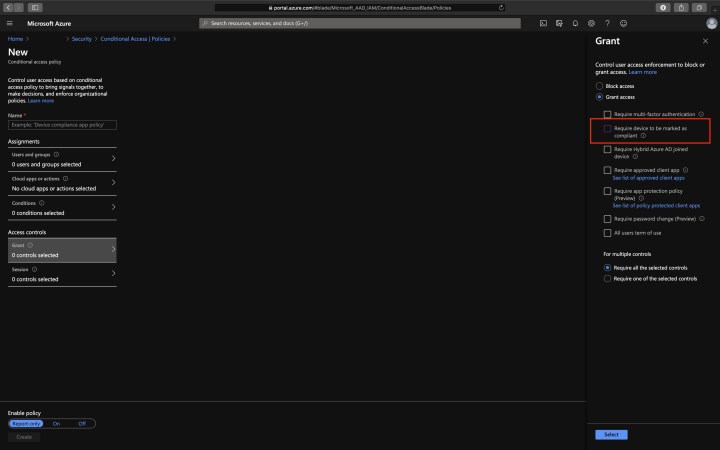
Conditional Access policies at their simplest are if-then statements; if a user wants to access a resource, then they must complete an action. An action can be Multi-Factor Authentication. With Conditional Access, you force every user to use Multi-Factor Authentication when logging into Microsoft Office 365. Using Conditional Access, the risk of misconfiguration lowers since every user applies to the Conditional Access when logging in, and its the best-practice to enable Multi-Factor Authentication.
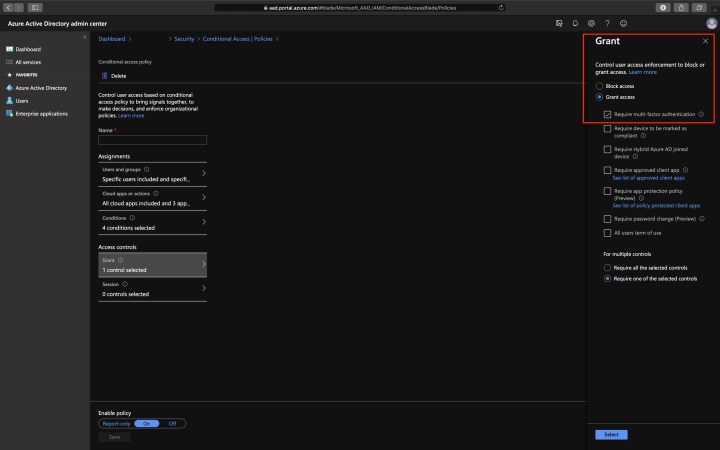
Note: Azure AD Conditional Access is part of the Azure AD Premium licensing model. So additional costs are required.
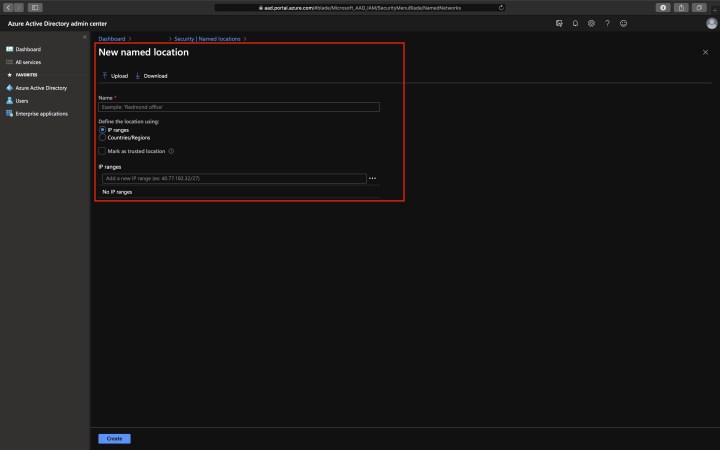
Azure AD Named Locations
You can add trusted IP address ranges within Azure AD as Named Locations. A policy can then exclude the Named Locations. Using an exclusion can prevent an identity from being challenged with Multi-Factor Authentication if it comes from a trusted location.
Azure AD Identity Protection MFA Registration Policy
The advantage of using the Multi-Factor Authentication policy within Azure AD Identity Protection is that users have 14 days to complete the registration. During these 14 days, they can bypass registration, but they have to register before they can complete the sign-in process at the end of the period. Once the sign-in process is complete, the user can log in without Multi-Factor Authentication. The policy only forces a user to register Multi-Factor Authentication. The Azure AD Identity protection policy is unnecessary when Multi-Factor Authentication is enforced using Conditional Access.
Note: Azure AD Identity Protection is part of the Azure AD Premium licensing model. So additional costs are required.
Azure AD Security Defaults
If you do not have an Azure AD Premium license or do not want to buy any additional license, Azure AD Security Defaults is a good alternative.
Enabling this option configures your organization with the following settings:
- Requiring all users to register for Azure Multi-Factor Authentication;
- Requiring administrators to perform multi-factor authentication;
- Blocking legacy authentication protocols;
- Requiring users to perform multi-factor authentication when necessary;
- Protecting privileged activities like access to the Azure portal.
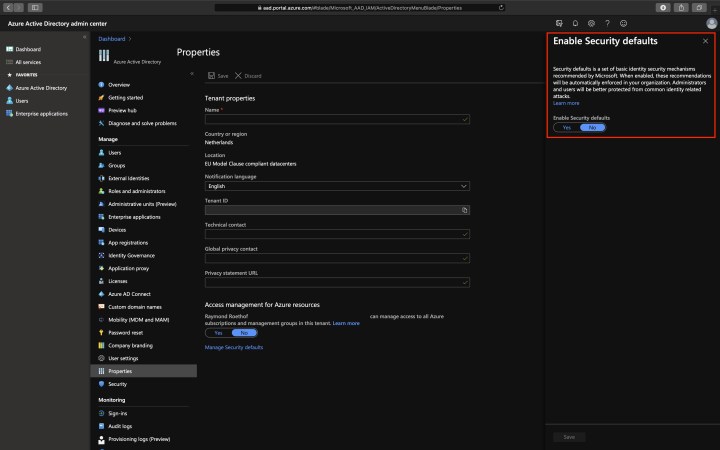
Note: Azure AD Security Defaults are not suitable for complex security requirements. It is either turned on or turned off. If you want to make decisions based on a condition, Conditional Access is the way to go.
Legacy Authentication
Microsoft Azure Active Directory supports several authentication and authorization protocols, including legacy authentication. Legacy authentication includes Exchange ActiveSync, SMTP, Autodiscover, Exchange Web Services, POP3, IMAP4, and many more.
The problem is, legacy authentication does not support Multi-Factor Authentication!
According to Microsoft, more than 99 percent of password spray attacks use legacy authentication protocols. It is crucial to disable legacy authentication when using Multi-Factor Authentication or in any situation.
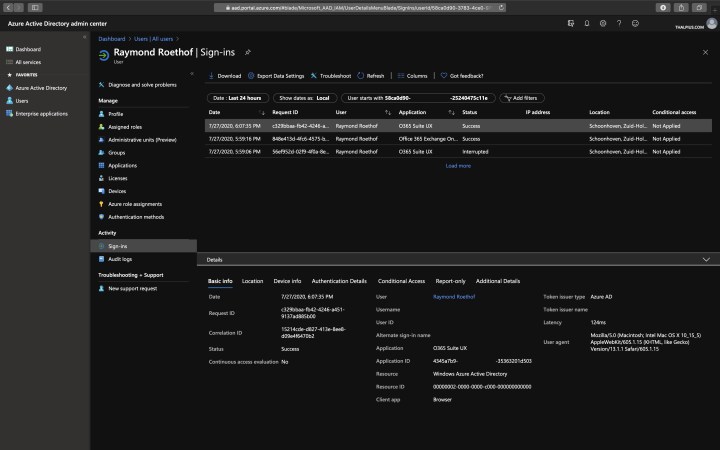
You can use the Azure portal to identify the usage of legacy authentication within your environment before disabling it.
- Navigate to; Azure portal > Azure Active Directory > Sign-ins.
- Add the Client App column if it is not shown by clicking on; Columns > Client App.
- Add filters > Client App > select all of the legacy authentication protocols. Select outside the filtering dialog box to apply your selections and close the dialog box.
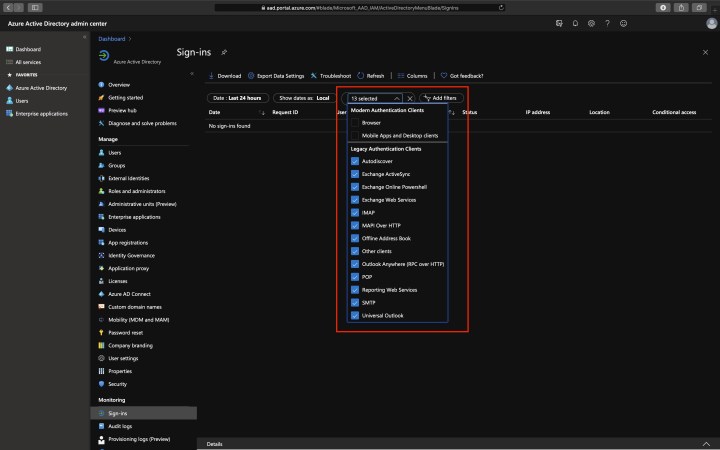
Note: Conditional Access in Report-only mode is another way to identify legacy authentication within your environment.
Conclusion
According to Microsoft, using Multi-Factor Authentication reduces 99,9% of the attacks within Microsoft Office 365. Using Multi-Factor Authentication does not mean your company is safe for password attacks. It would not be the first time a user accepts a Multi-Factor Authentication challenge on their device when an attacker logs-in within Microsoft Office 365 with leaked credentials. So adoption and education for company users are critical. Enabling Multi-Factor Authentication and disabling legacy authentication is a minimum security measure every organization should take.